Morgan is a popular HTTP logging library for Node.js. It is designed to be a simple and flexible tool for logging HTTP requests and responses in Node.js applications.

Using Morgan, you can easily log requests made to your Node.js server, including information such as the request method, the URL of the request, the status code of the response, and the length of the response body.
You can also customize the format of the log messages and specify which requests should be logged and which should be ignored.
Why should you use Morgan Logger?
Here are a few reasons why you should use Morgan:
- It is easy to use: Morgan Logger is a simple and lightweight logging library, making it easy to get started and integrate into your application.
- It is flexible: You can customize the format of the log messages and specify which requests should be logged and which should be ignored. This allows you to tailor the logging to your specific needs.
- It provides useful information: Morgan logs useful information about HTTP requests and responses, such as the request method, the URL, the status code, and the length of the response body. This can be helpful for debugging and understanding how your application is being used.
- It is widely used: Morgan is a popular logging library for Node.js and has a large user base, meaning it is well-tested and supported.
Types of Log Output Formats in Morgan Logger
Morgan logger provides an easy way to get started with logging. With its pre-defined logging formats, you can capture a lot of useful information. You can also write your customized logs using tokens.
Let us learn about these methods briefly.
Pre-defined Morgan Log formats
Morgan contains a few pre-defined output formats like:
- combined
- common
- dev
- short
- tiny
morgan(’combined’):
It follows the standard apache combined output format while logging.
:remote-addr - :remote-user [:date[clf]] ":method :url HTTP/:http-version" :status :res[content-length] ":referrer" ":user-agent"

morgan(’common’):
It follows the standard apache common output format while logging.
:remote-addr - :remote-user [:date[clf]] ":method :url HTTP/:http-version" :status :res[content-length]

morgan('dev') :
It gives the concise output colored by response status for development use. The status token will be colored green for success codes, red for server error codes, yellow for client error codes, cyan for redirection codes, and uncolored for information codes.
:method :url :status :response-time ms - :res[content-length]

morgain('short') :
It is shorter than the default, also including response time.

morgan('tiny'):
It gives minimal output while logging the HTTP requests in the following format.
:method :url :status :res[content-length] - :response-time ms

Creating Tokens in Morgan Logger
In Morgan, tokens are functions that are identified by a colon (:) symbol. You can also create your own tokens using the .token() method provided by the Morgan library.
morgan.token('type', function (req, res) { return req.headers['content-type'] })
Here’s a small example of creating tokens:
const express = require('express')
const morgan = require('morgan')
const uuid = require('uuid')
const PORT = process.env.PORT || "5555";

morgan.token('id', (req) => { //creating id token
  return req.id
})

const app = express()

app.use(assignId)
app.use(morgan(':id :method :url :response-time'))

app.get('/', function (req, res) {
  res.send('hello, world!')
})

function assignId (req, res, next) {
  const id = uuid.v4()
  req.id = id
  next()
}

app.listen(parseInt(PORT, 10), () => {
    console.log(`Listening on http://localhost:${PORT}`);
});
Output:

Now let us Morgan Logger in a sample Nodejs application and send the captured logs to an open source log management tool, SigNoz.
Getting Started with Morgan Logger
Prerequisites
Steps to use Morgan Logger
Create a node project in the current directory:
mkdir morgan-nodejs-example
cd morgan-nodejs-example
Initialize an npm project:
npm init -y
Install express and morgan packages:
npm i morgan express
Create an entry file called index.js file:
touch index.js
Create a basic hello world express app:
const express = require("express");
const PORT = process.env.PORT || "5555";
const app = express();

app.use(express.json())

app.get("/", (req, res) => {
    res.json({ method: req.method, message: "Hello World", ...req.body });
});

app.get('/404', (req, res) => {
    res.sendStatus(404);
})

app.get("/user", (req, res, next) => {
    try {
      throw new Error("Invalid user");
    } catch (error) {
      res.status(500).send("Error!");
    }
  });

app.listen(parseInt(PORT, 10), () => {
    console.log(`Listening on http://localhost:${PORT}`);
});
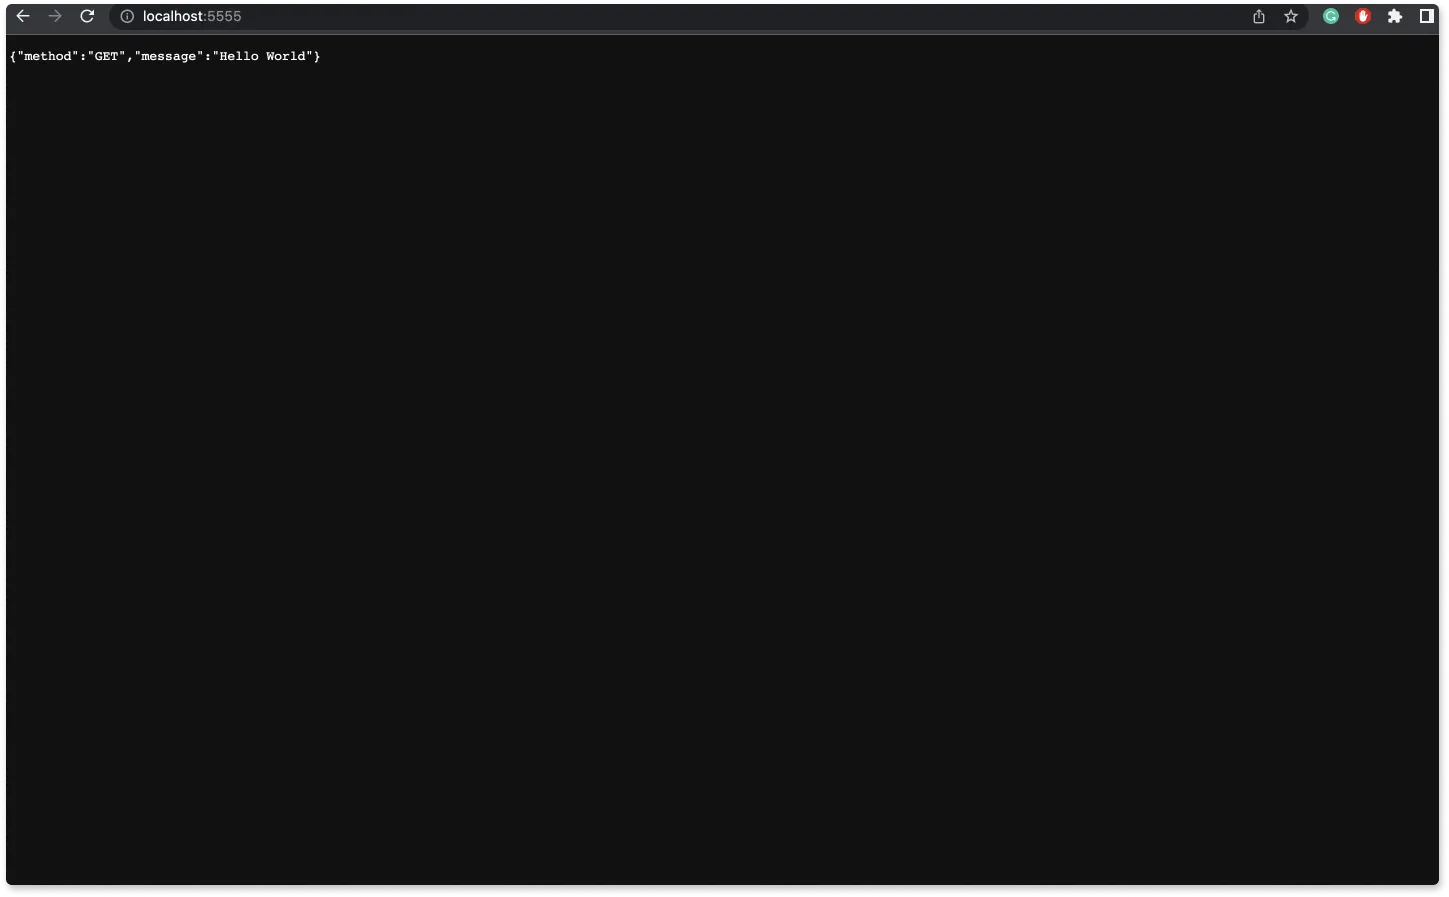
Run the server with the below command and hit http://localhost:5555:
node index.js
If done correctly, the console should show Listening on http://localhost:5555

At this point, the project structure should look like this:
/node_modules
/index.js
/logger.js
/package-lock.json
/package.json
Using the Morgan Logger
In the index.js file, include require morgan.
const morgan = require("morgan");
To use Morgan in your Express server, you can call an instance of it and pass it as an argument to the .use() middleware before handling any HTTP requests. Morgan has a set of predefined format strings called presets that you can use to create a logger middleware with a specific format and options. The tiny preset generates minimal output when logging HTTP requests.
app.use(morgan('tiny'));
The final code in your index.js file will look like this.
const express = require("express");
const morgan = require("morgan");
const PORT = process.env.PORT || "5555";
const app = express();

app.use(express.json())
app.use(morgan('tiny'))

app.get("/", (req, res) => {
    res.json({ method: req.method, message: "Hello World", ...req.body });
});

app.get('/404', (req, res) => {
    res.sendStatus(404);
})

app.get("/user", (req, res) => {
    try {
      throw new Error("Invalid user");
    } catch (error) {
      res.status(500).send("Error!");
    }
  });

app.listen(parseInt(PORT, 10), () => {
    console.log(`Listening on http://localhost:${PORT}`);
});
Logs will be captured depending on the route we hit:

In a production environment, you will need a log management tool to store and manage your logs efficiently. In this tutorial, we will use SigNoz - an open source APM and observability tool for logs collected by Morgan logging library.
Sending logs to SigNoz deployed on Docker
We will dockerize our nodejs application and run the application in Docker. We will be using the console transport for Morgan. If SigNoz is running on the same host, it will automatically start collecting logs of all the docker containers.
Installing and running the SigNoz app
SigNoz can be installed on macOS or Linux computers in just three steps by using a simple install script.
The install script automatically installs Docker Engine on Linux. However, on macOS, you must manually install Docker Engine before running the install script.
git clone -b main https://github.com/SigNoz/signoz.git
cd signoz/deploy/
./install.sh
Dockerising the Node app
Create a docker-compose.yaml file and paste the following code:
version: "3.9"

services:
  app:
    container_name: app
    image: app
    restart: always
    build:
      context: .
      dockerfile: Dockerfile
      target: base
    ports:
      - "${PORT}:${PORT}"
Create a Dockerfile (no file extension needed) and paste the following code:
FROM node:alpine as base

WORKDIR /morgan-nodejs-example # current project name

COPY package.json ./

RUN rm -rf node_modules && npm i

COPY . .

CMD ["node",  "index.js"]
Before we can deploy our app on a Docker container, we need to set up the environment variable we will need to run the app. Create a file named .env in the root directory of your folder.
Since we defined the port as a variable in the docker-compose.yaml file, we need to set the port in the .env file:
PORT=5555
Running the app
Finally, we can deploy the Node app on a Docker container. To do so, use Docker Compose:
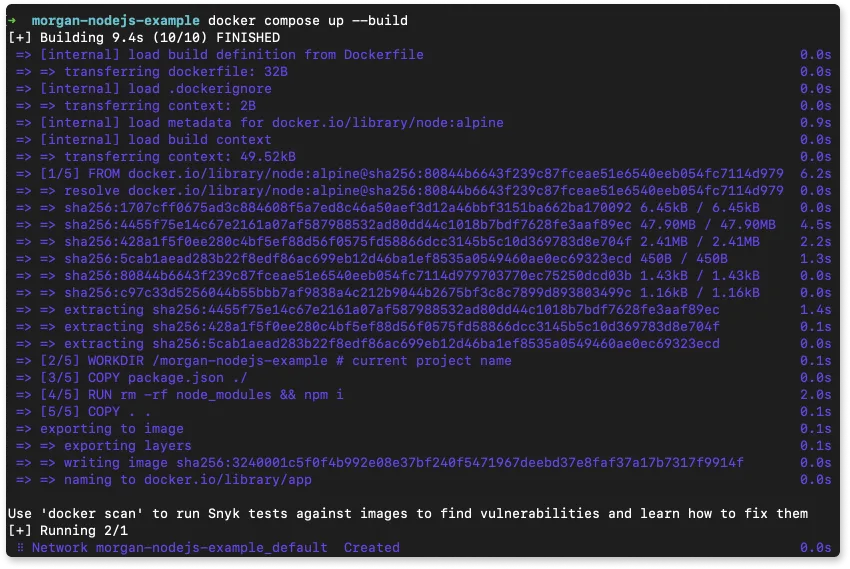
docker compose up --build
Once the build is successfully run, you should be able to see the following logs on the console.

Observing the logs on SigNoz
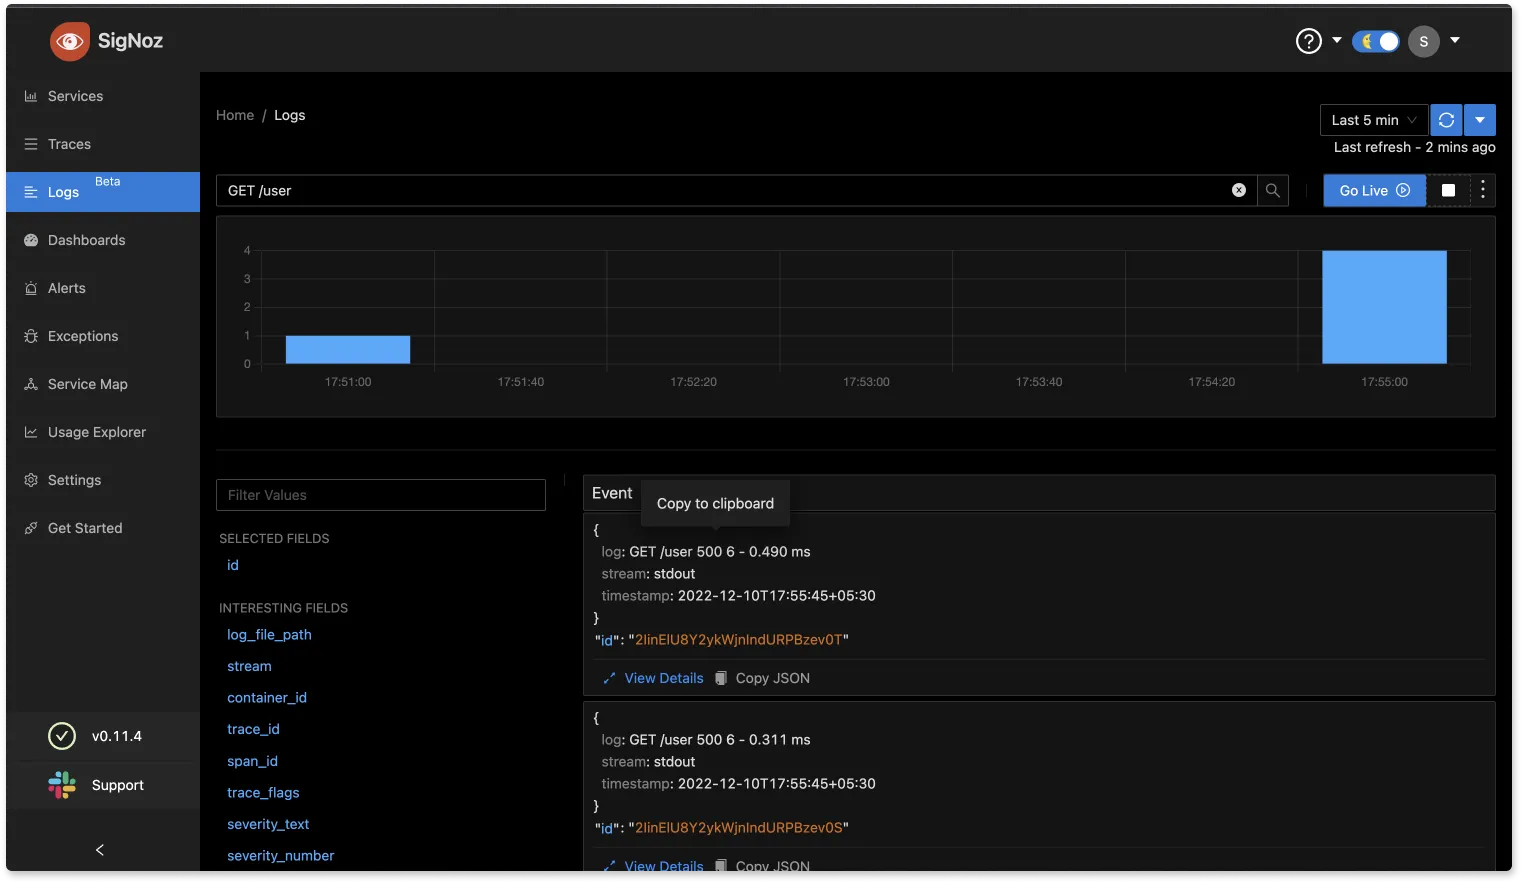
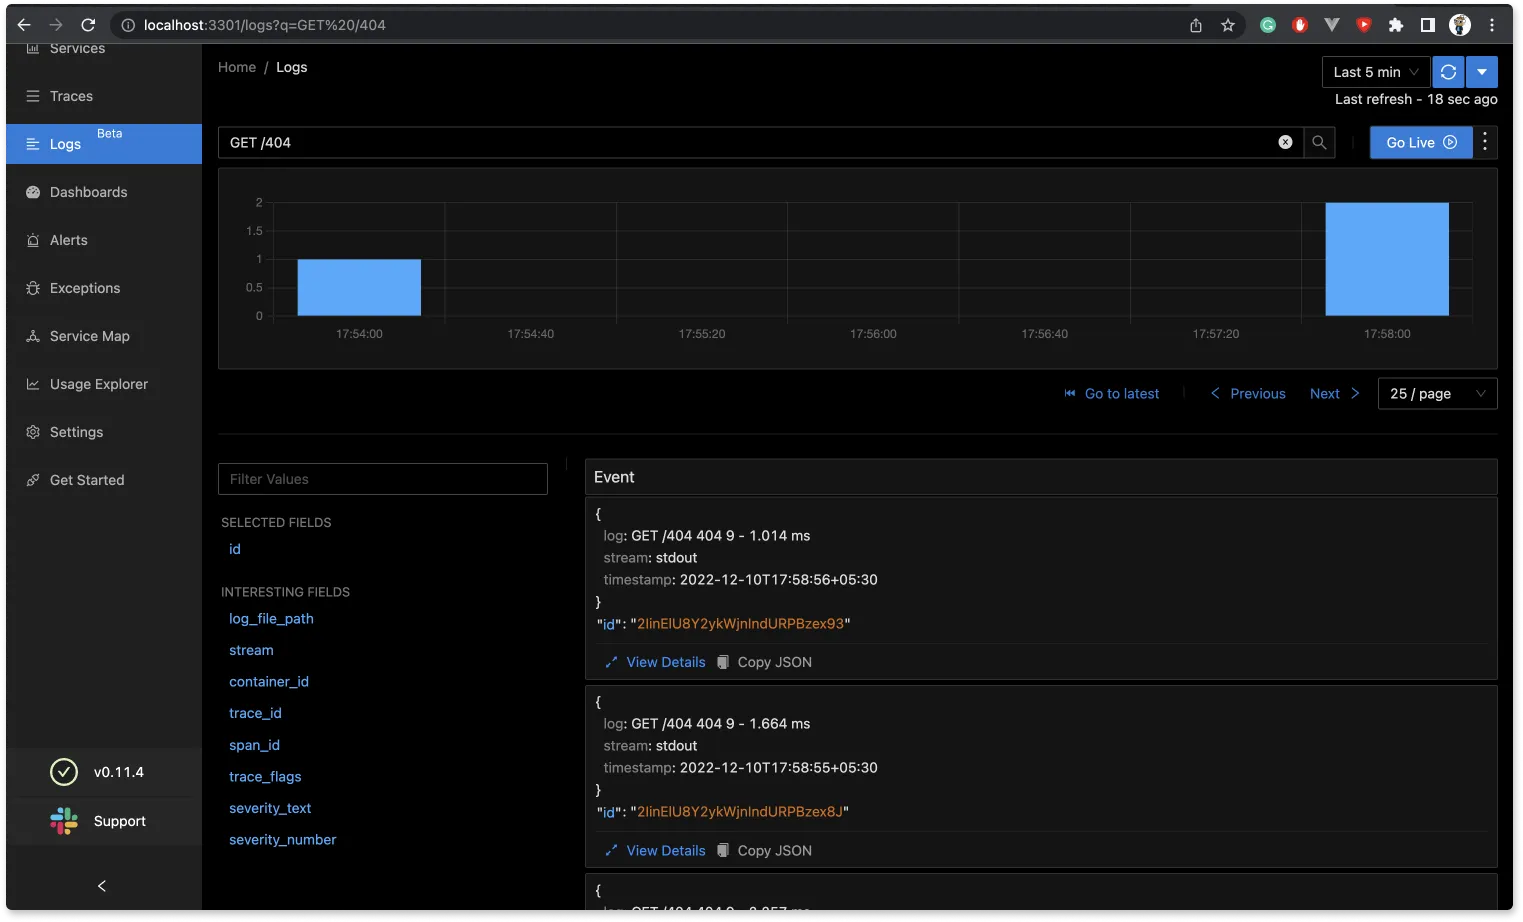
Now, hit the different routes we’ve hit earlier to check the logs i.e /, /404, /user and we should be able to watch the logs in SigNoz as follows.


If SigNoz is installed on a different host, you can collect logs by following these instructions.
Conclusion
Logs are essential to a developer’s workflow and critical to debugging applications. Morgan is a simple logging library, making the process more flexible and extensible. It provides useful information and is easy to implement. Once the logs are generated, you can collect them with SigNoz.
SigNoz uses OpenTelemetry to collect logs. With OpenTelemetry, you can also correlate your logs with other telemetry signals like metrics and traces. Having contextual information in your logs can help you debug applications faster. You can get an overview of logs management in SigNoz from the logs documentation.
Related Posts
SigNoz - a lightweight open source ELK alternative
Winston Logger - Full tutorial with a sample Nodejs application
