Overview
Serveless VPC Access Connector enables you to connect from a serverless environment on Google Cloud to your VPC network.
This document guides you on how to launch the Cloud SQL instance on GCP.
In order to build a serverless VPC access connector, we will create:
- Compute Engine instance with private access and have an application running on it
- Cloud Function which makes a call to this application
- Serverless VPC Access connector to establish the connection between Cloud Function and the application running on Compute Engine
Create Private Compute Engine Instance
Step 1: Create a Compute Engine instance by following the Creating Compute Engine document. Note that we have instantiated an Ubuntu instance. The commands might slightly differ for other operating systems.
Step 2: SSH into this instance, and install node and npm onto it using the following commands:
$ sudo apt update
$ sudo apt install nodejs
$ sudo apt install npm

# Check that node and npm have installed successfully using the following commands:
$ node -v
$ npm -v
Step 3: Create a basic NodeJS application by creating app.js file with the following contents:
var http = require('http');

http.createServer(function (req, res) {
  res.writeHead(200, {'Content-Type': 'text/html'});
  res.end('Hello World from Private Compute Engine!');
}).listen(8080);
You can run the application locally using node app.js &. You can also try to call the application using the curl command curl http://localhost:8080. The curl command should return Hello World from Private Compute Engine!.
Step 4: Let us now open port 8080 for this instance.
- For this, click on the VM instance from the VM instances page, and scroll down to the Network interfaces section.
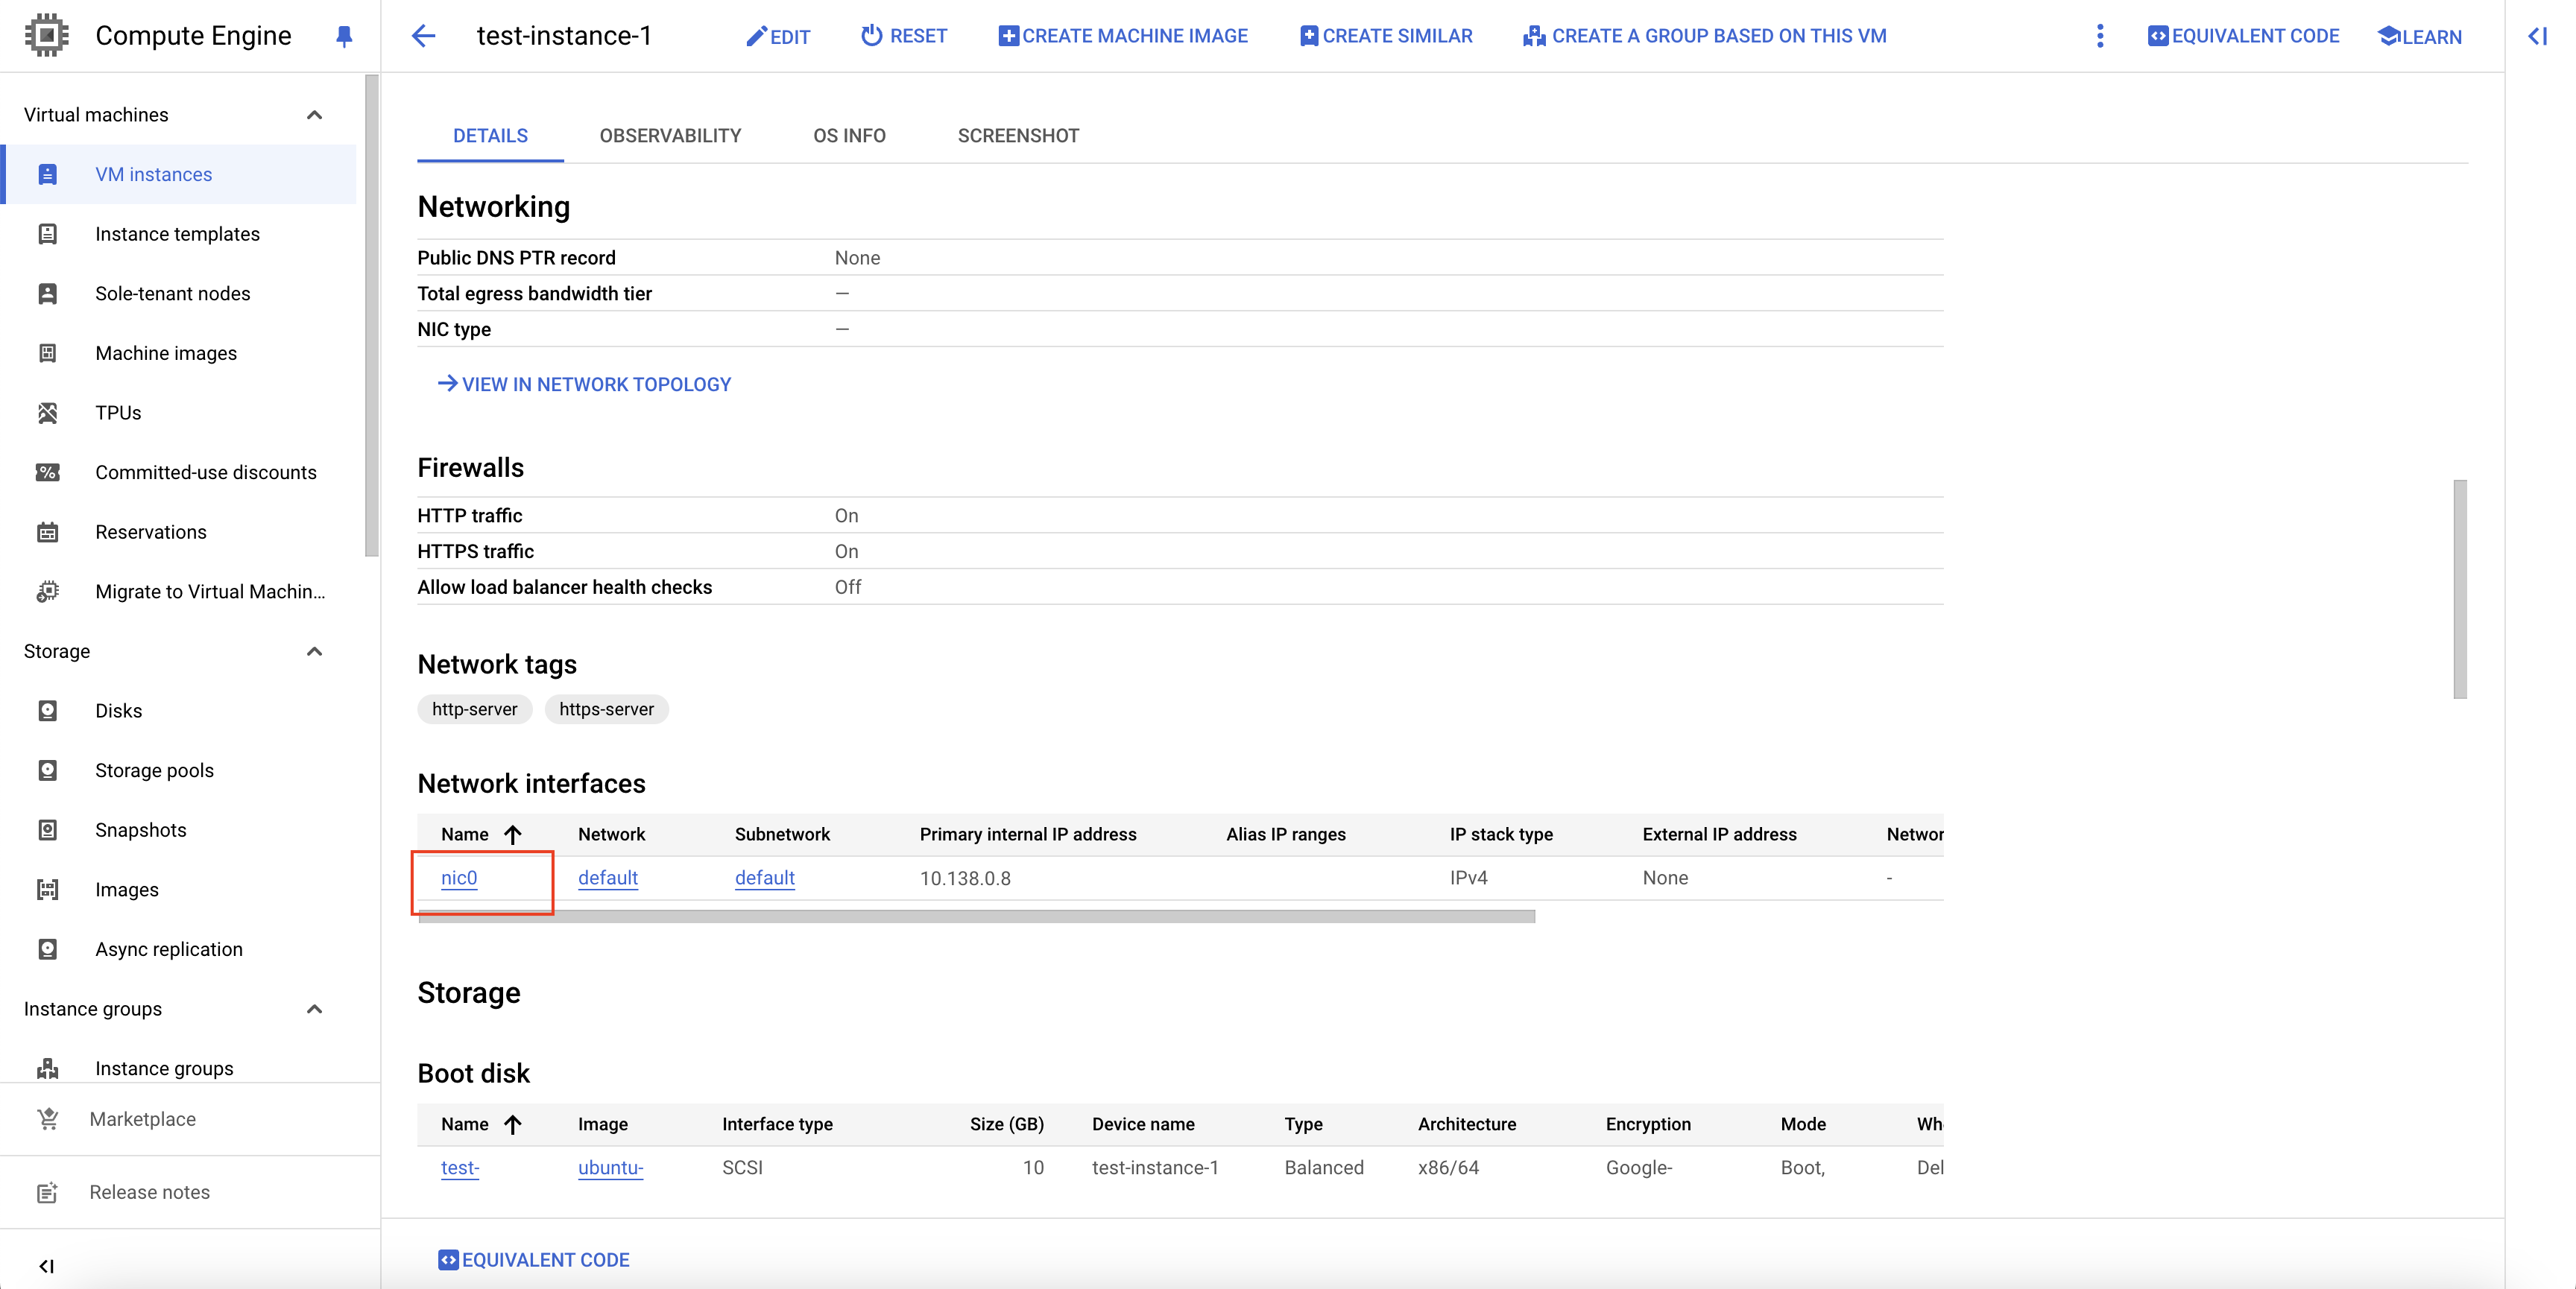
Navigate to Network interfaces
Click on the network interface, and on the Network interface details page, scroll down to the Firewall and routes details section.
Open the vpc-firewall-rules dropdown, and check if you have an entry for
tcp:8080under the Protocols and ports column.
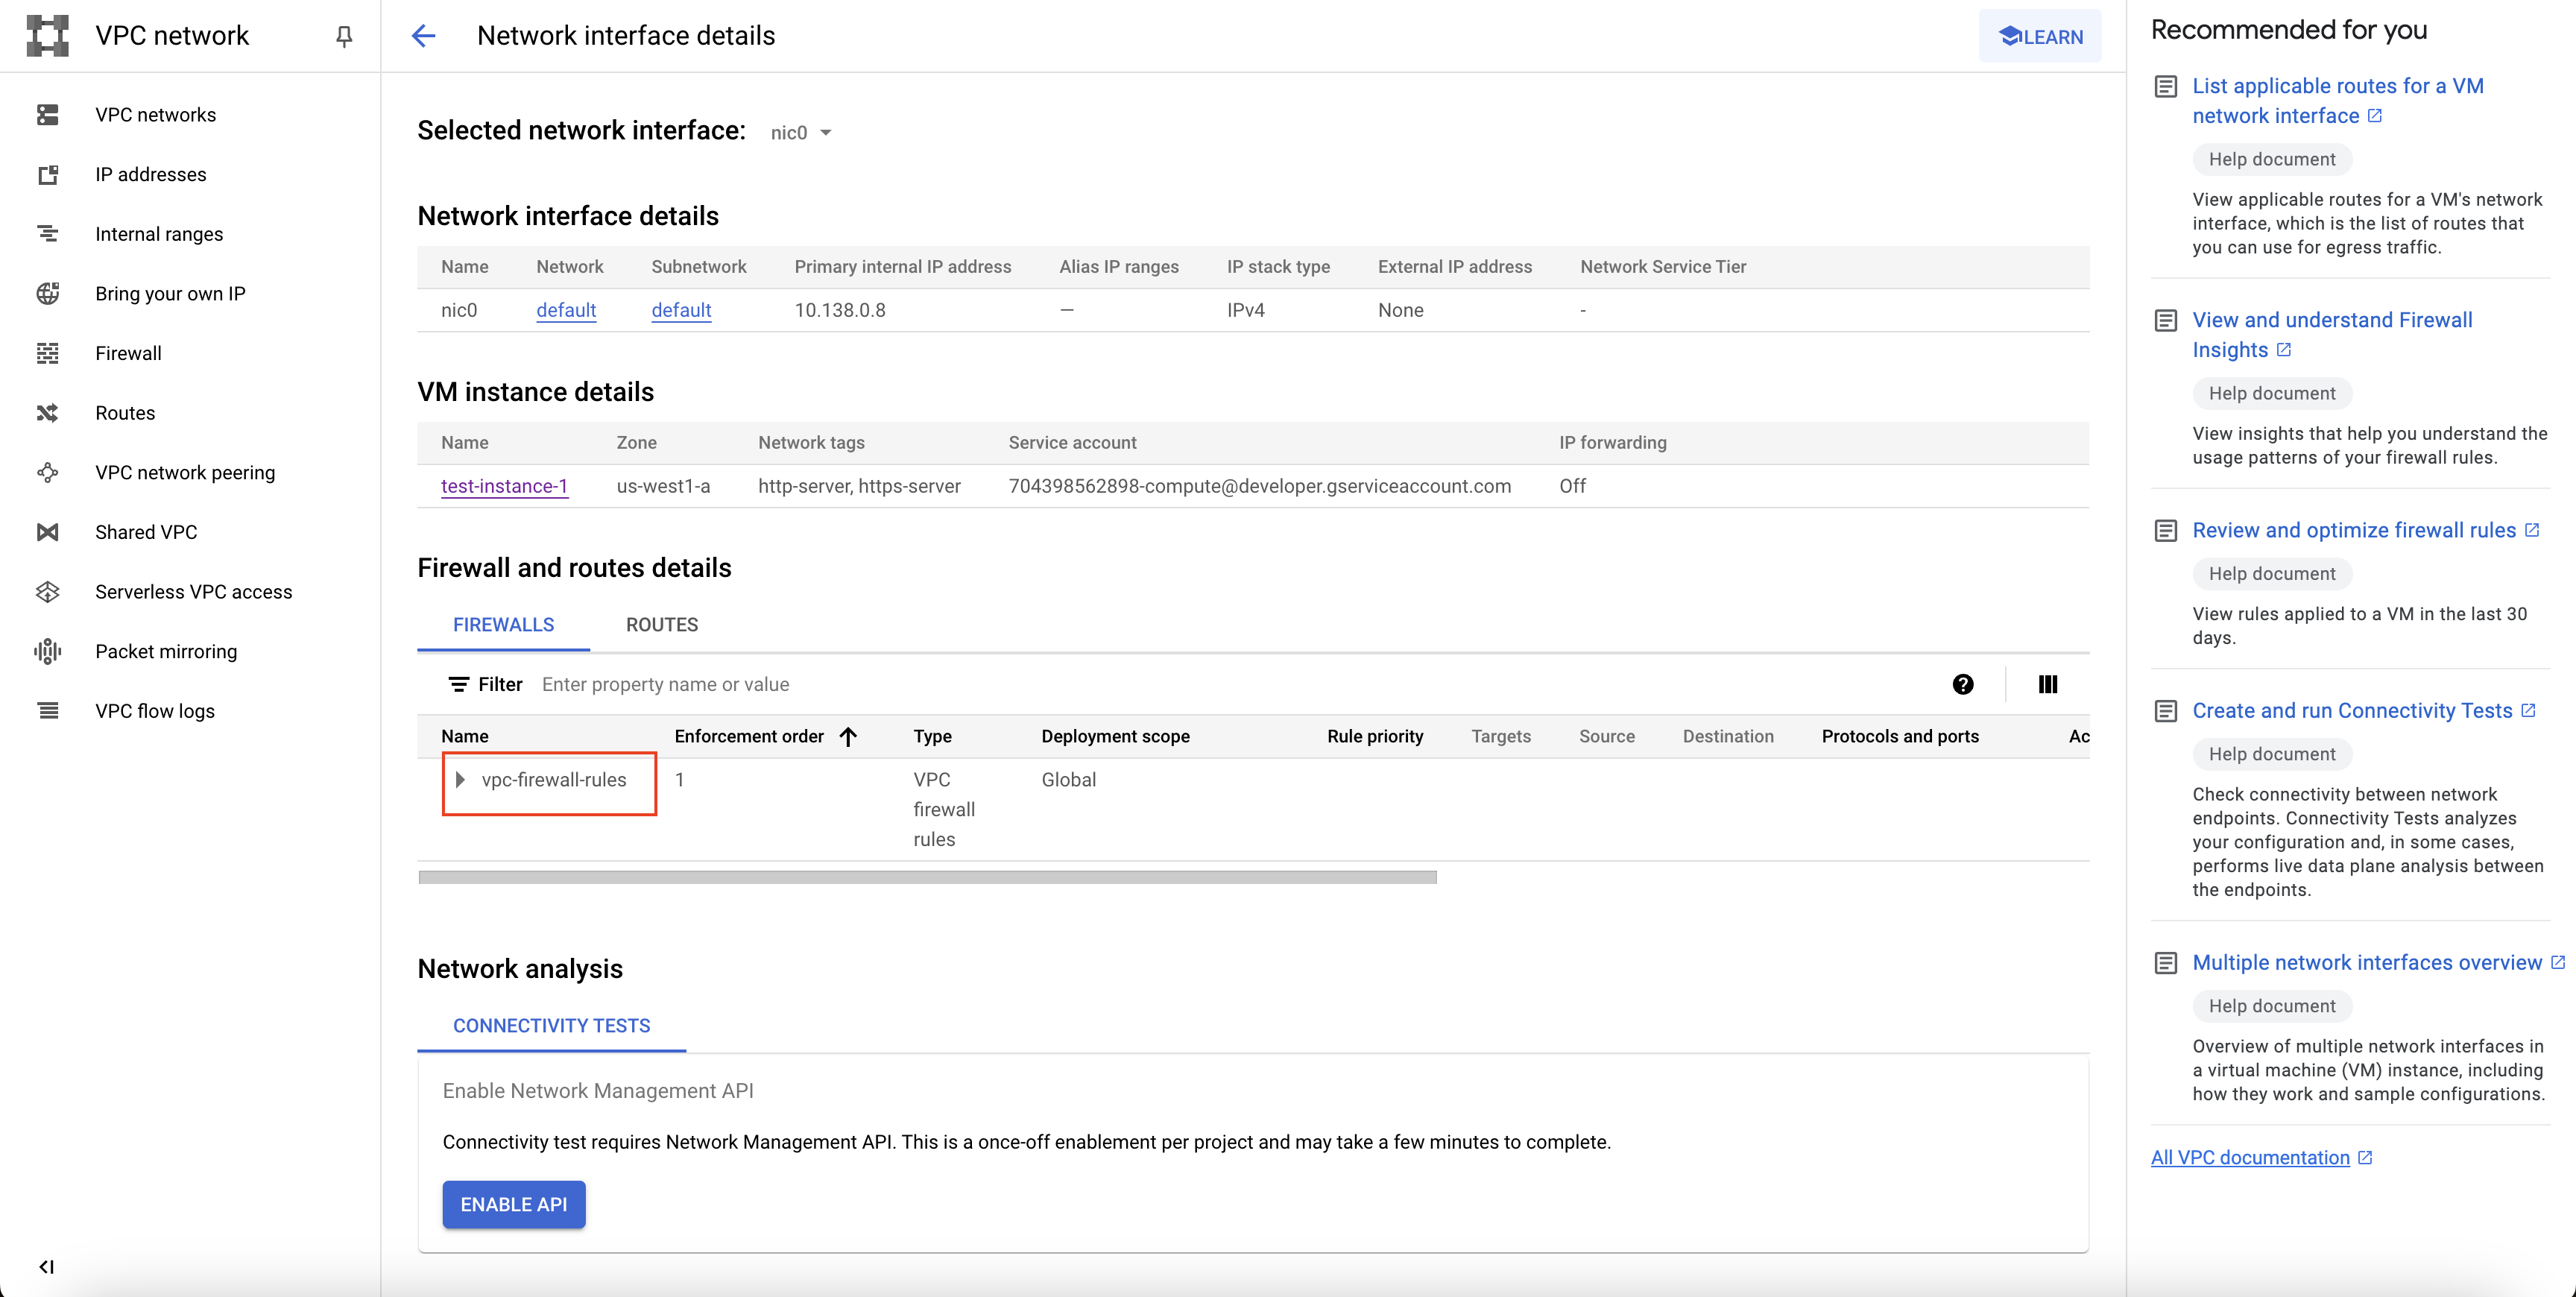
Check vpc-firewall-rules dropdown
- If you do not find any entry for
tcp:8080, let us create one with the following steps:- Navigate to Firewall from the left navigation menu.
- Click on Create Firewall Rule at the top of the page.
- Give an appropriate name and description for the port, say
port-8080. - In the Targets, select
All instances in the network. - In the Source IPv4 ranges, put the value as
0.0.0.0/0. - In the Protocols and ports section, select
TCPand put the port as8080. - Click on CREATE.
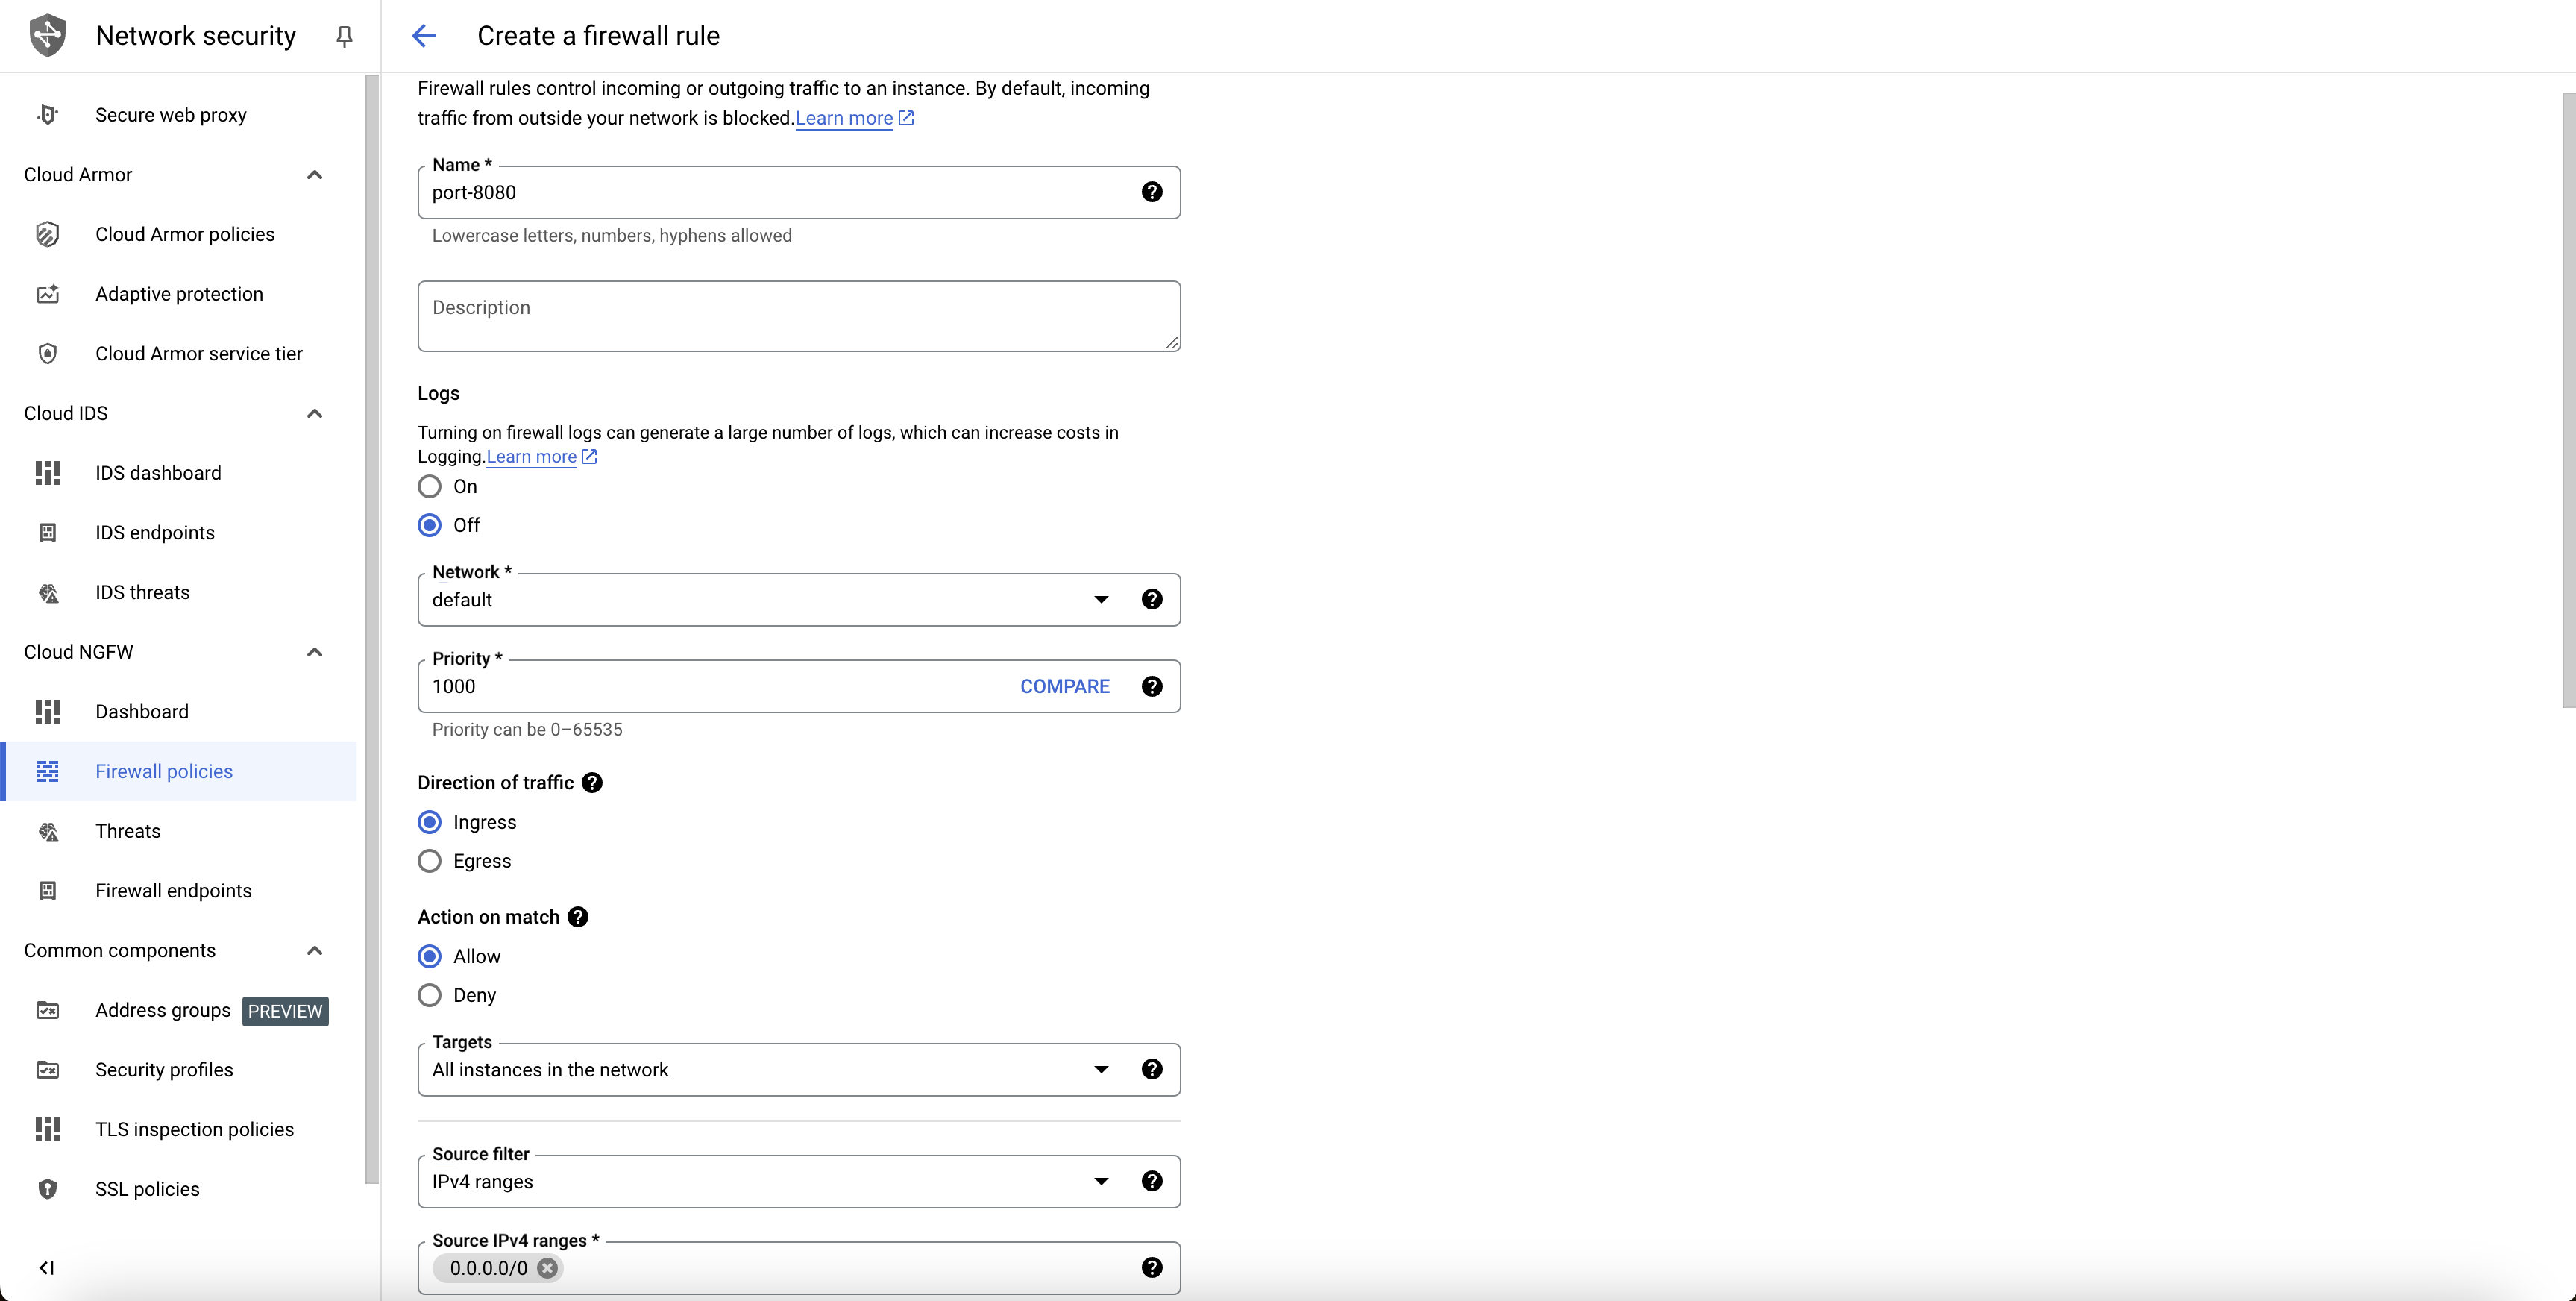
Create firewall rule
Step 5: Let us now make the VM instance private.
- Click on the VM instance from the VM instances page.
- On the VM instance page, click on EDIT at the top of the page.
- Scroll down to the Network interfaces section, and click on the network interface dropdown.
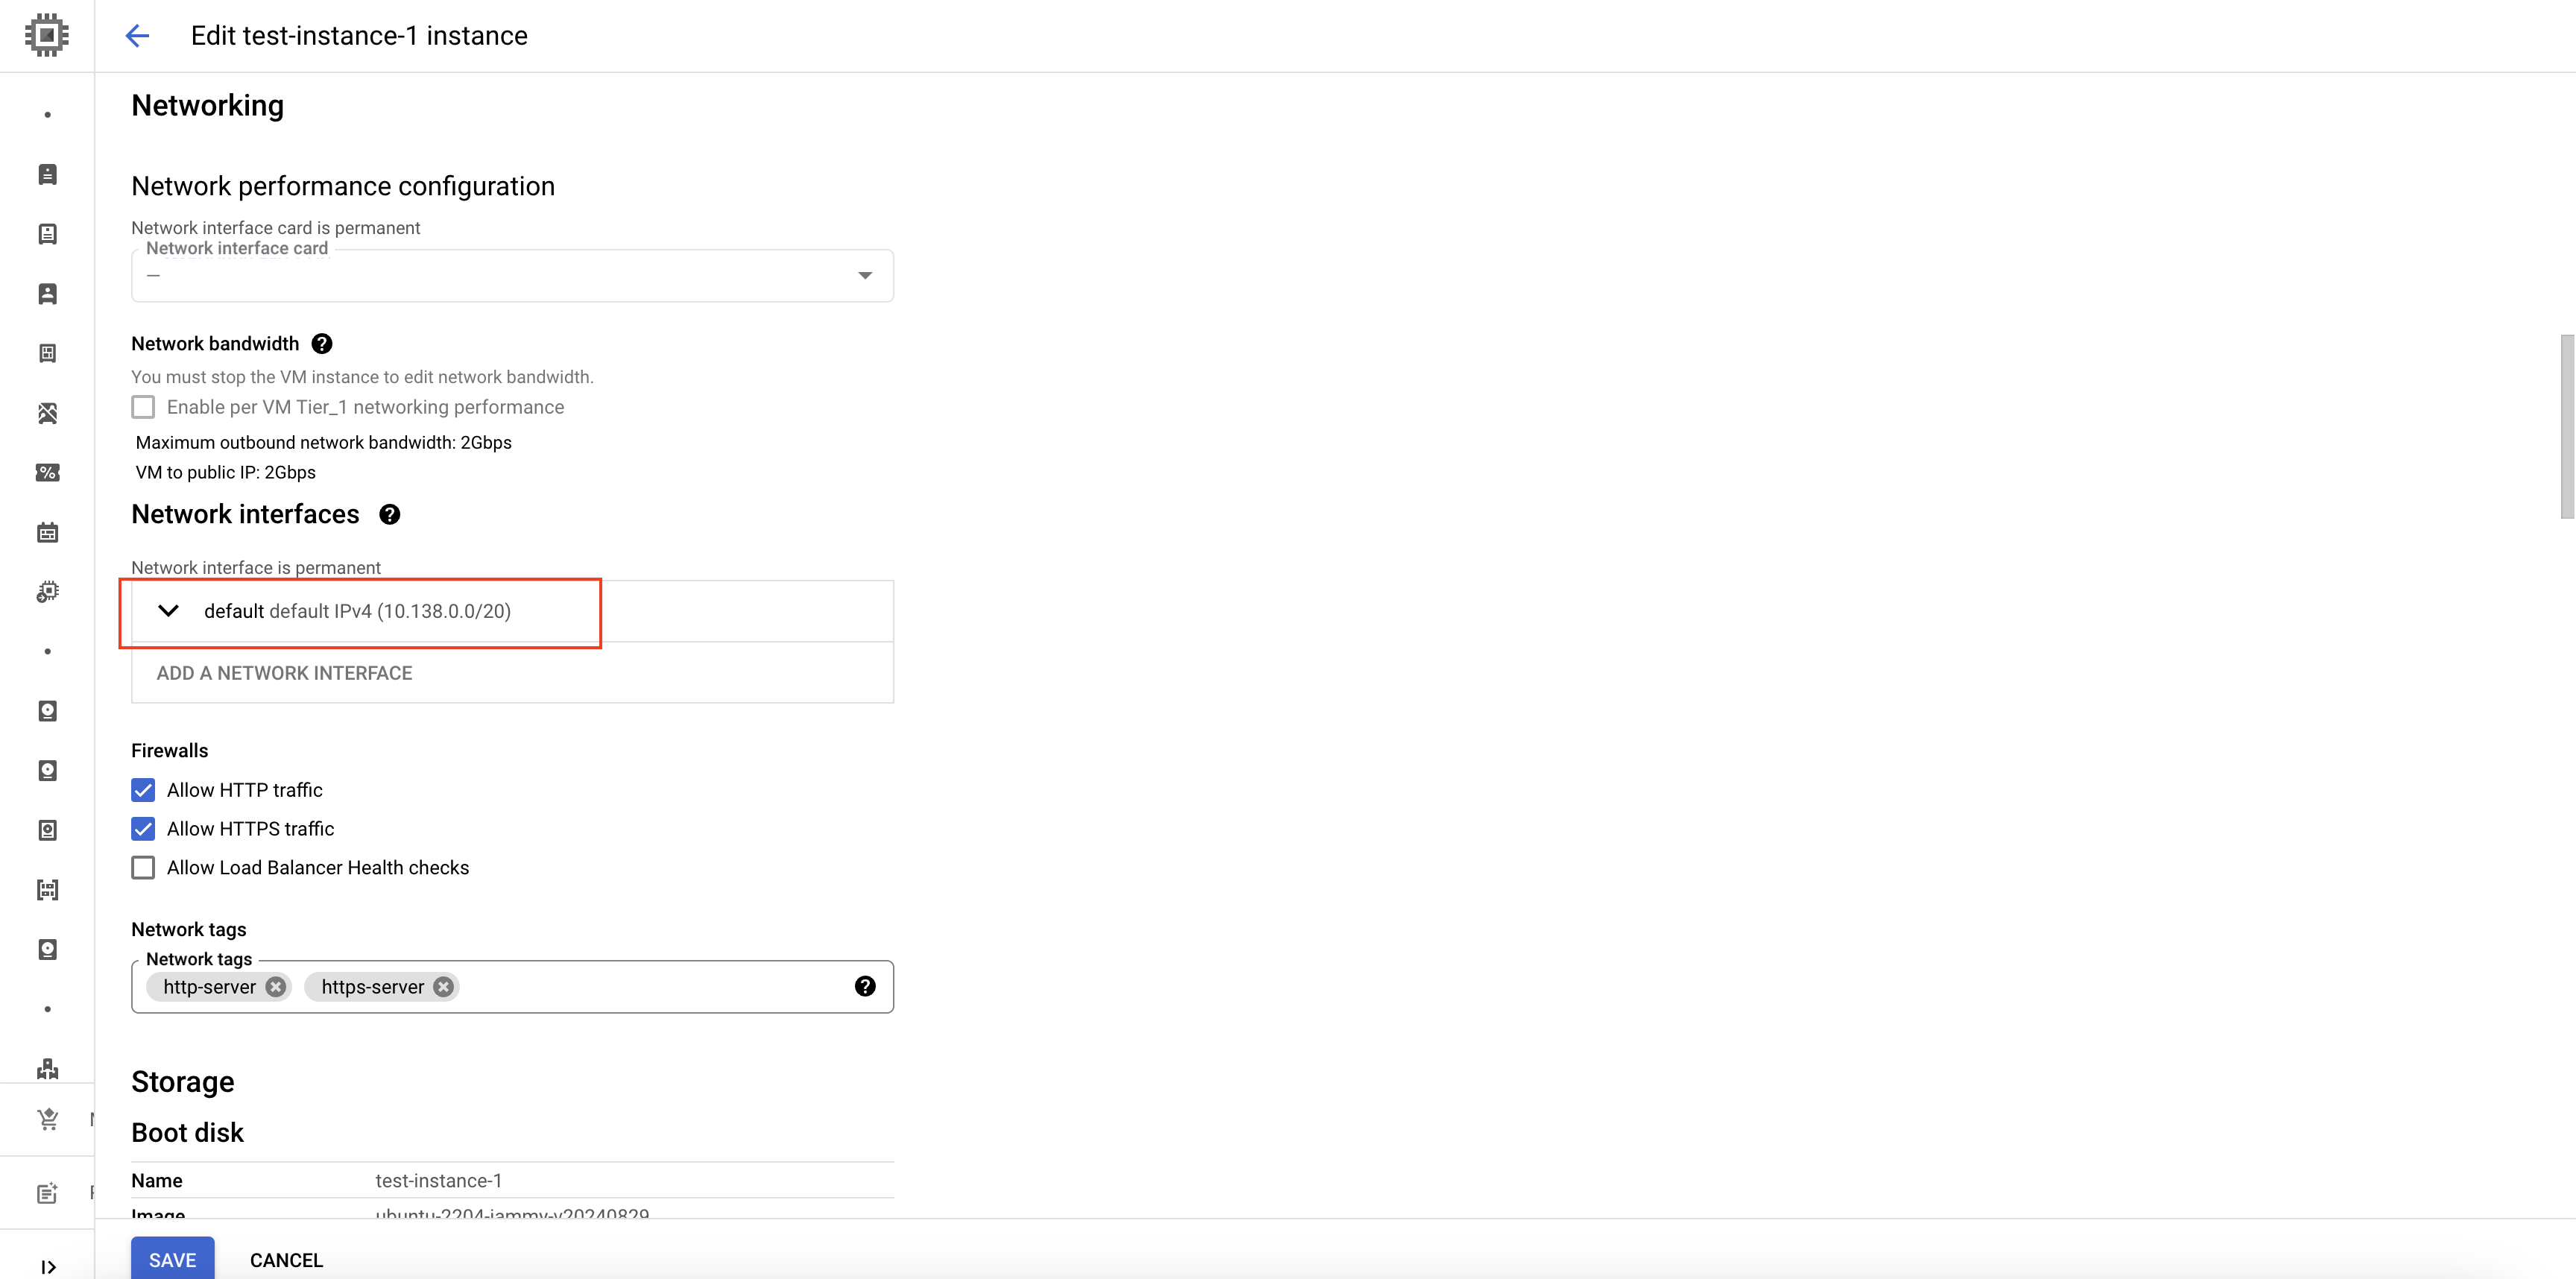
Edit network interface
- In the External IPv4 address dropdown, select
None.
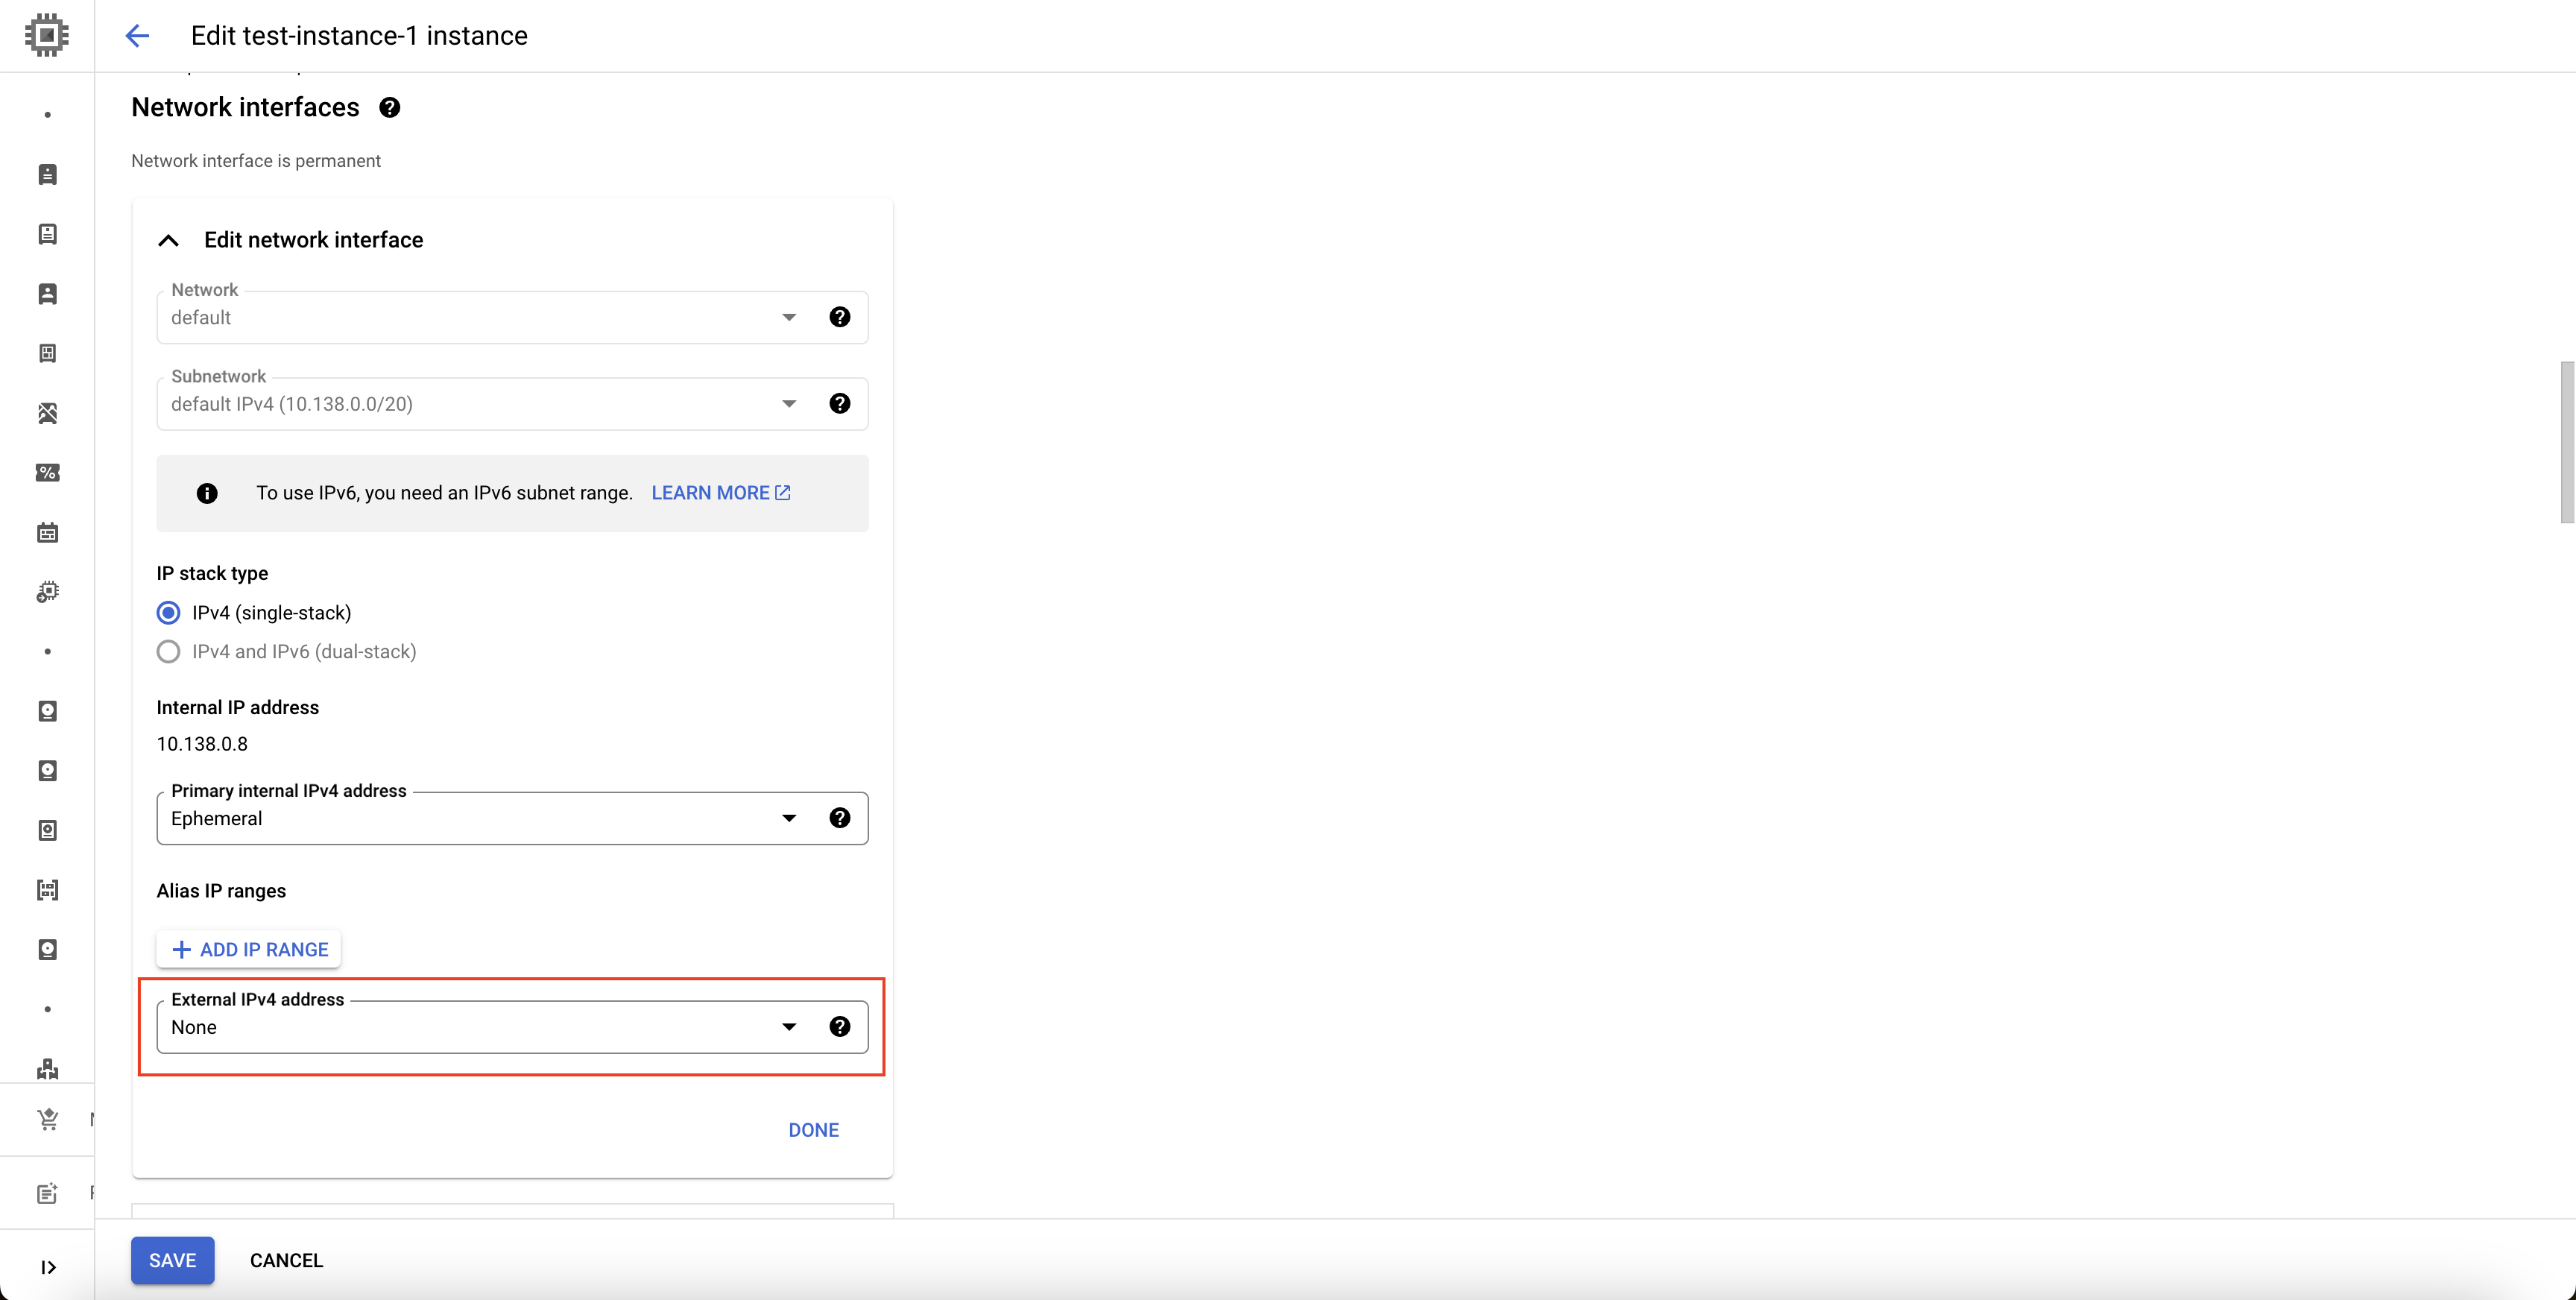
Select External IPv4 address as None
- Click on SAVE at the bottom of the page.
Create Cloud Function
Follow these steps to create the Cloud Function:
Step 1: Go to your GCP console and search for Cloud Functions, go to Functions and click on CREATE FUNCTION.
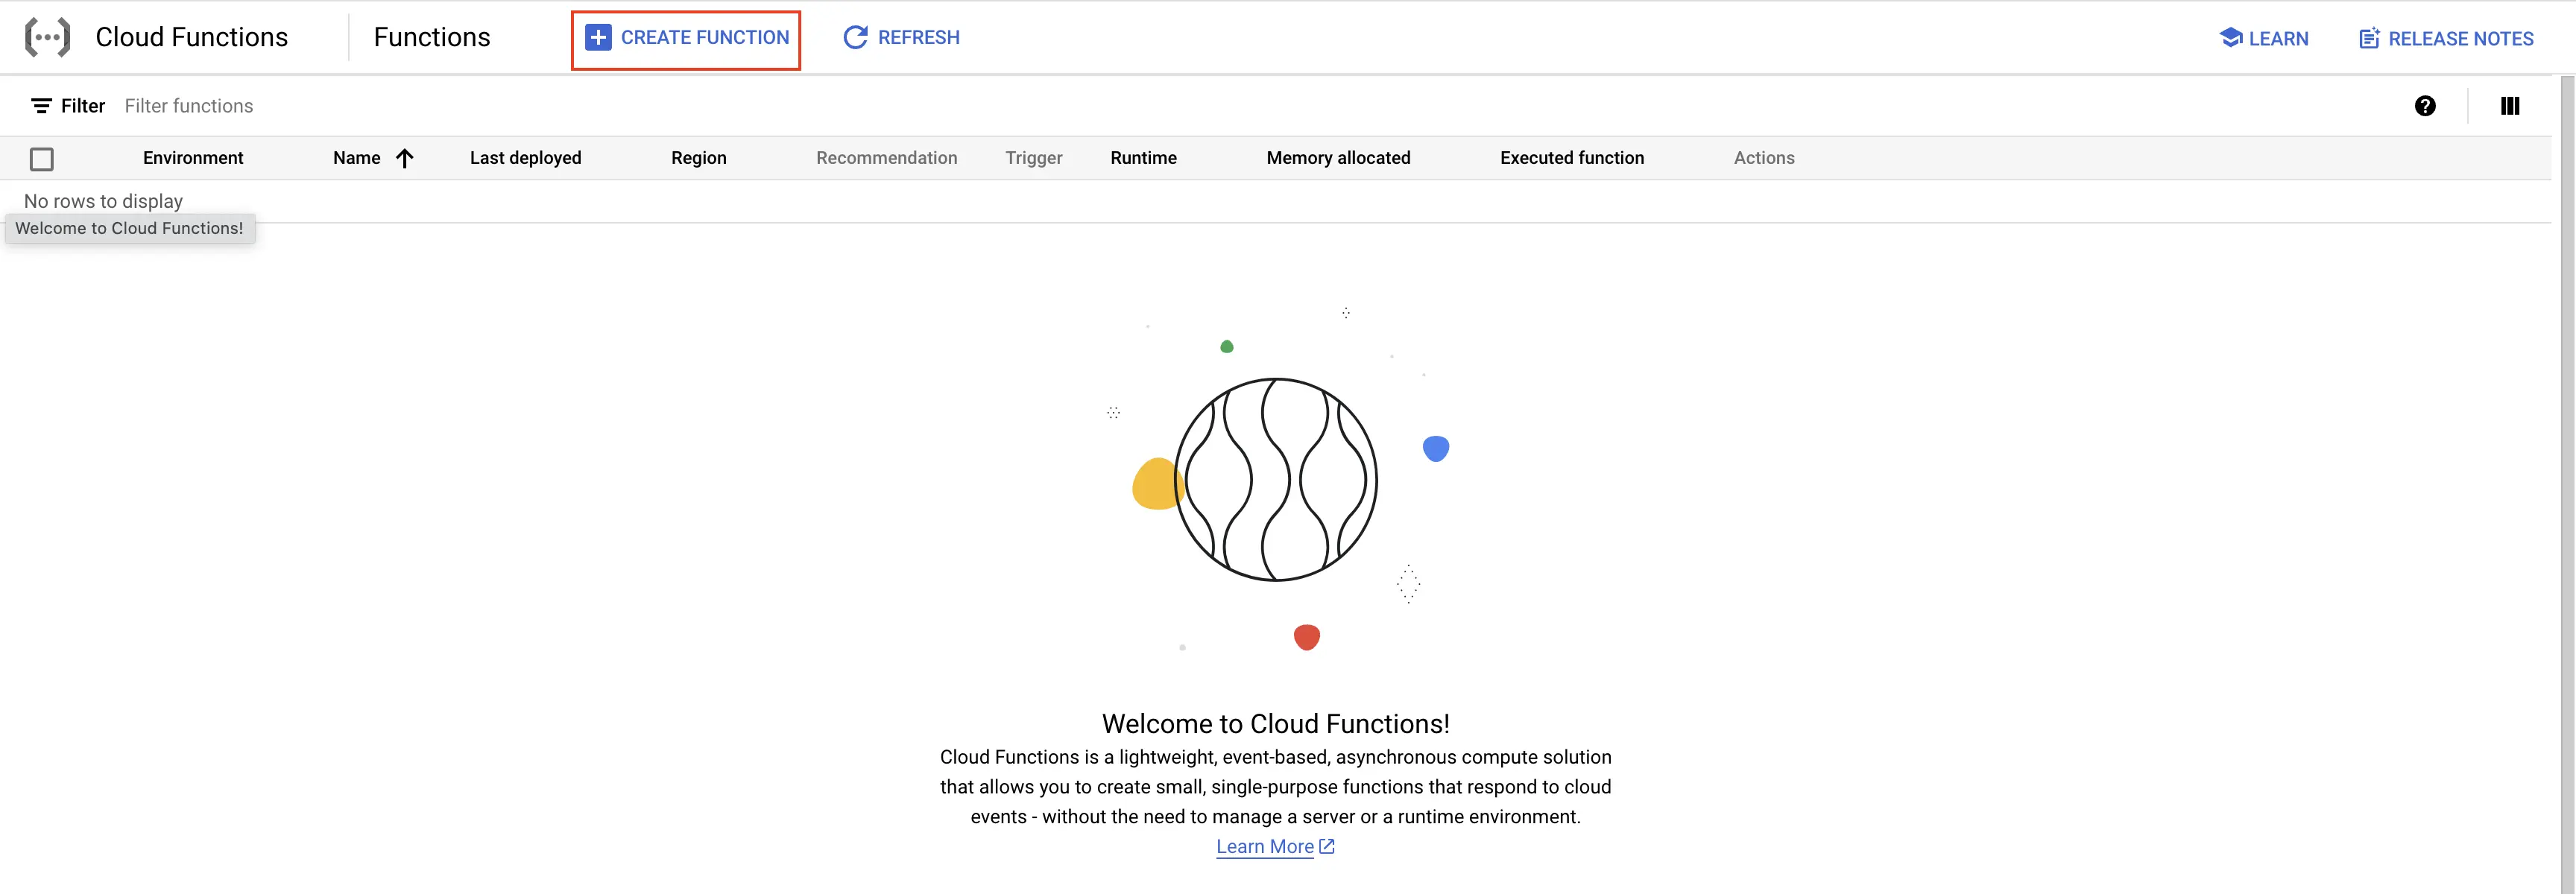
Create Cloud Function
Step 2: Fill in the following details to create a Cloud Function:
- Environment: 2nd gen
- Function name: Name for the Cloud Function
- Region: Select any appropriate region
- Trigger: Defines how to trigger the Cloud Function
- Trigger Type: HTTPS - this allows us to trigger the Cloud Function using a URL
- Authentication: Choose whether you need authenticated or unauthenticated invocations. We have chosen unauthenticated invocation for this demonstration.
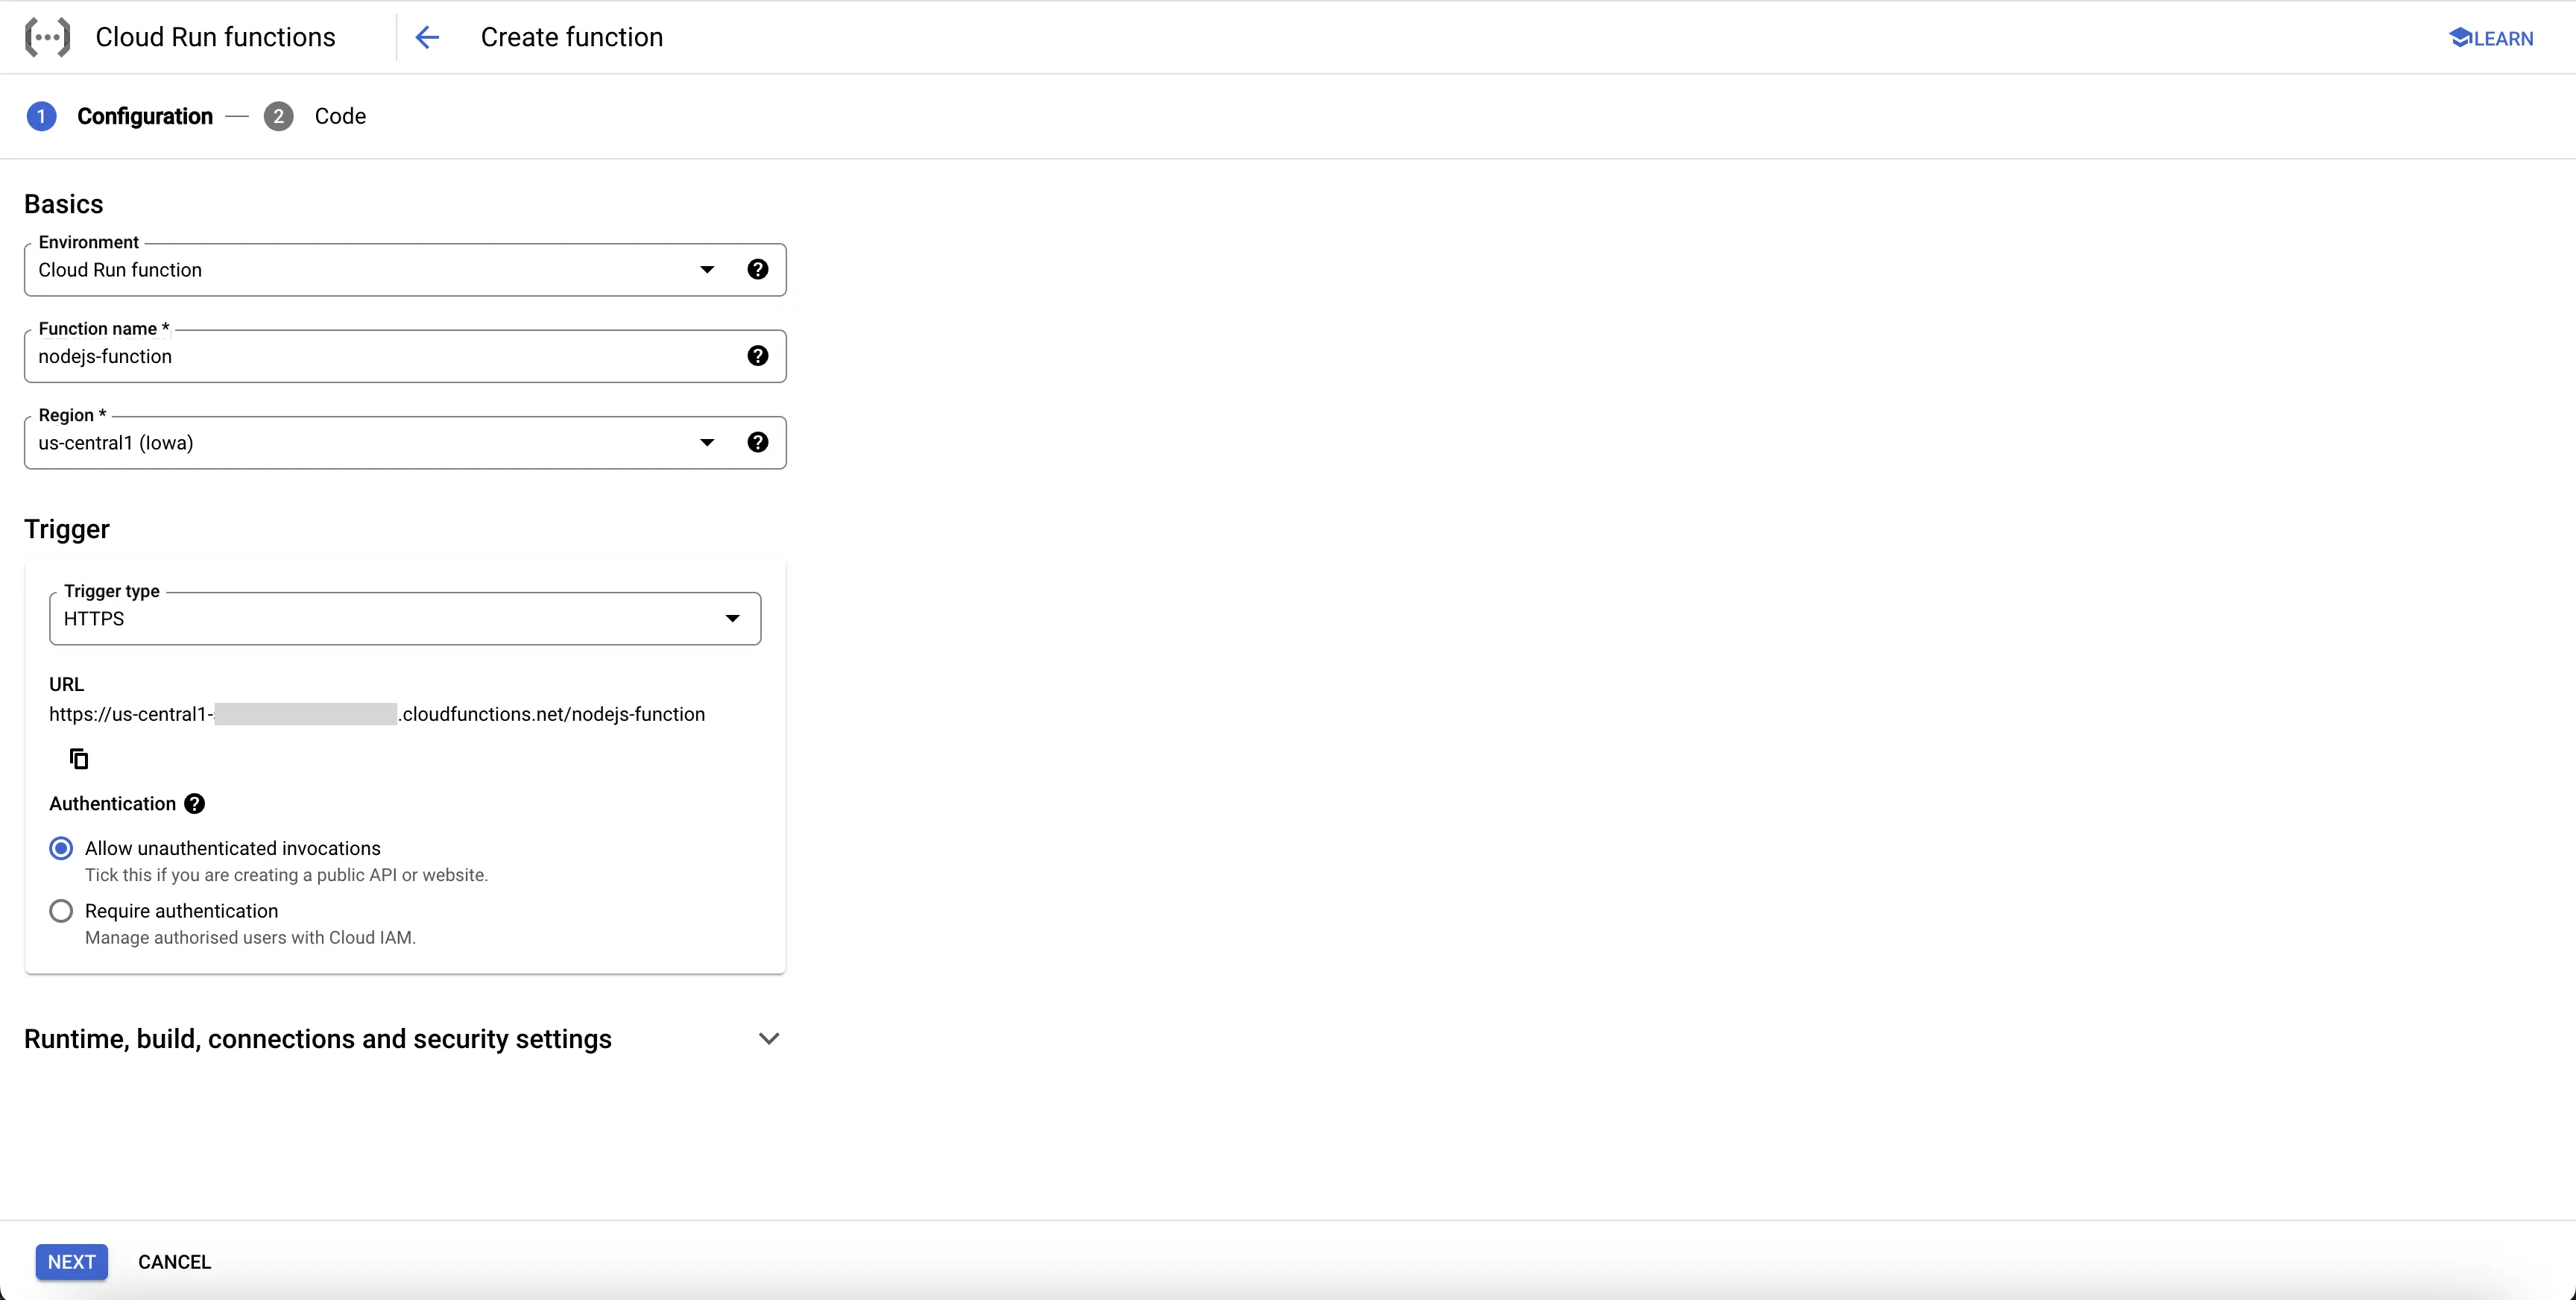
Create NodeJS Cloud Function
Step 3: Click on the NEXT button, which will bring us to the page where we can add our code.
Select Runtime as Node.js 20, and Entry point as helloHttp.
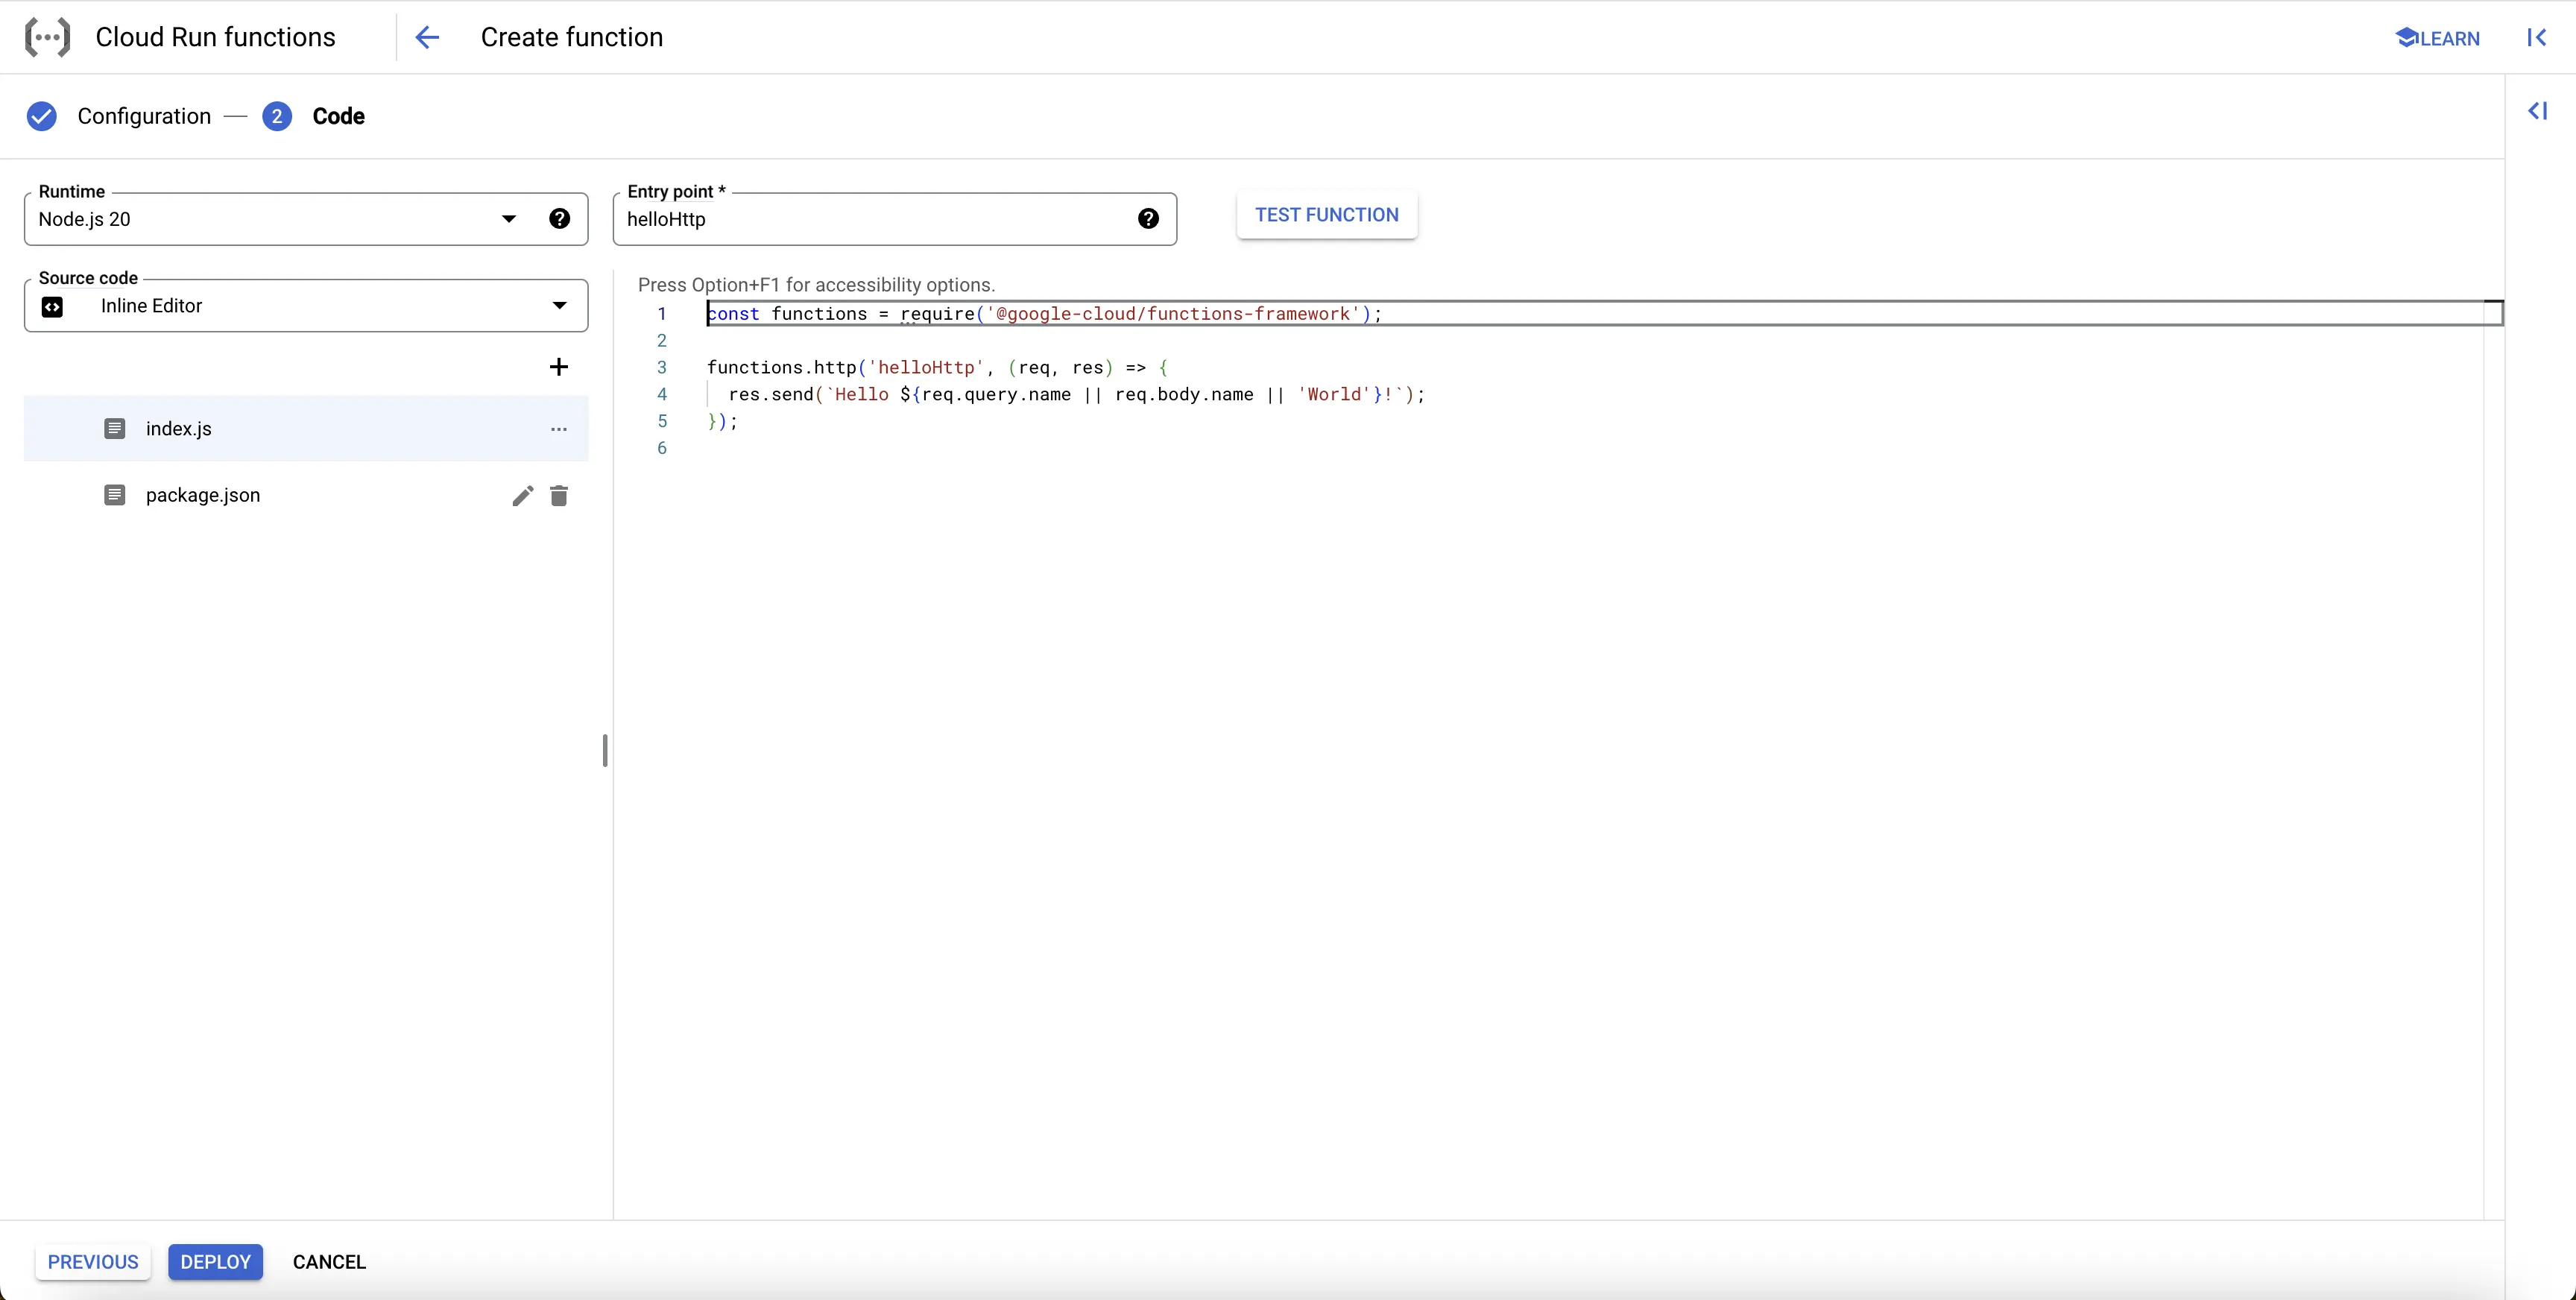
Runtime and Entry Point of Cloud Function
Add code to the Google Cloud Function
Below is the comprehensive code of the index.js file, followed by a high level overview of what the code is doing.
const functions = require('@google-cloud/functions-framework');
const request = require('request');

functions.http('helloHttp', (req, res) => {
  request('http://<vm-instance's-private-ip>:8080', function (error, response, body){
      if(!error && response.statusCode == 200) {
          console.log(body);
          res.status(200).send(body);
      }
  })
});
On triggering the Cloud Function, it makes a call to the application running on the VM instance using its private's IP address. It logs the response, and also sends out the response received from the application.
Below are the contents of the package.json file:
{
  "dependencies": {
    "request": "2.88.2",
    "@google-cloud/functions-framework": "^3.0.0",
    "@opentelemetry/api": "1.9.0",
    "@opentelemetry/auto-instrumentations-node": "0.48.0",
    "@opentelemetry/exporter-trace-otlp-http": "0.52.1"
  }
}
Once you’ve finished writing your code, locate the DEPLOY button. After clicking the DEPLOY button, Google Cloud Function initiates deployment, starts provisioning the function according to the specified configuration, initializes the environment, handles dependencies, and makes the function ready to handle incoming requests.
At this point, the Cloud Function is ready, but it cannot access the VM instance on its private IP address.
Create Serverless VPC Access Connector
Step 1: On the GCP console, search for VPC, and select VPC networks.
Step 2: Navigate to Serverless VPC access from the left navigation menu.
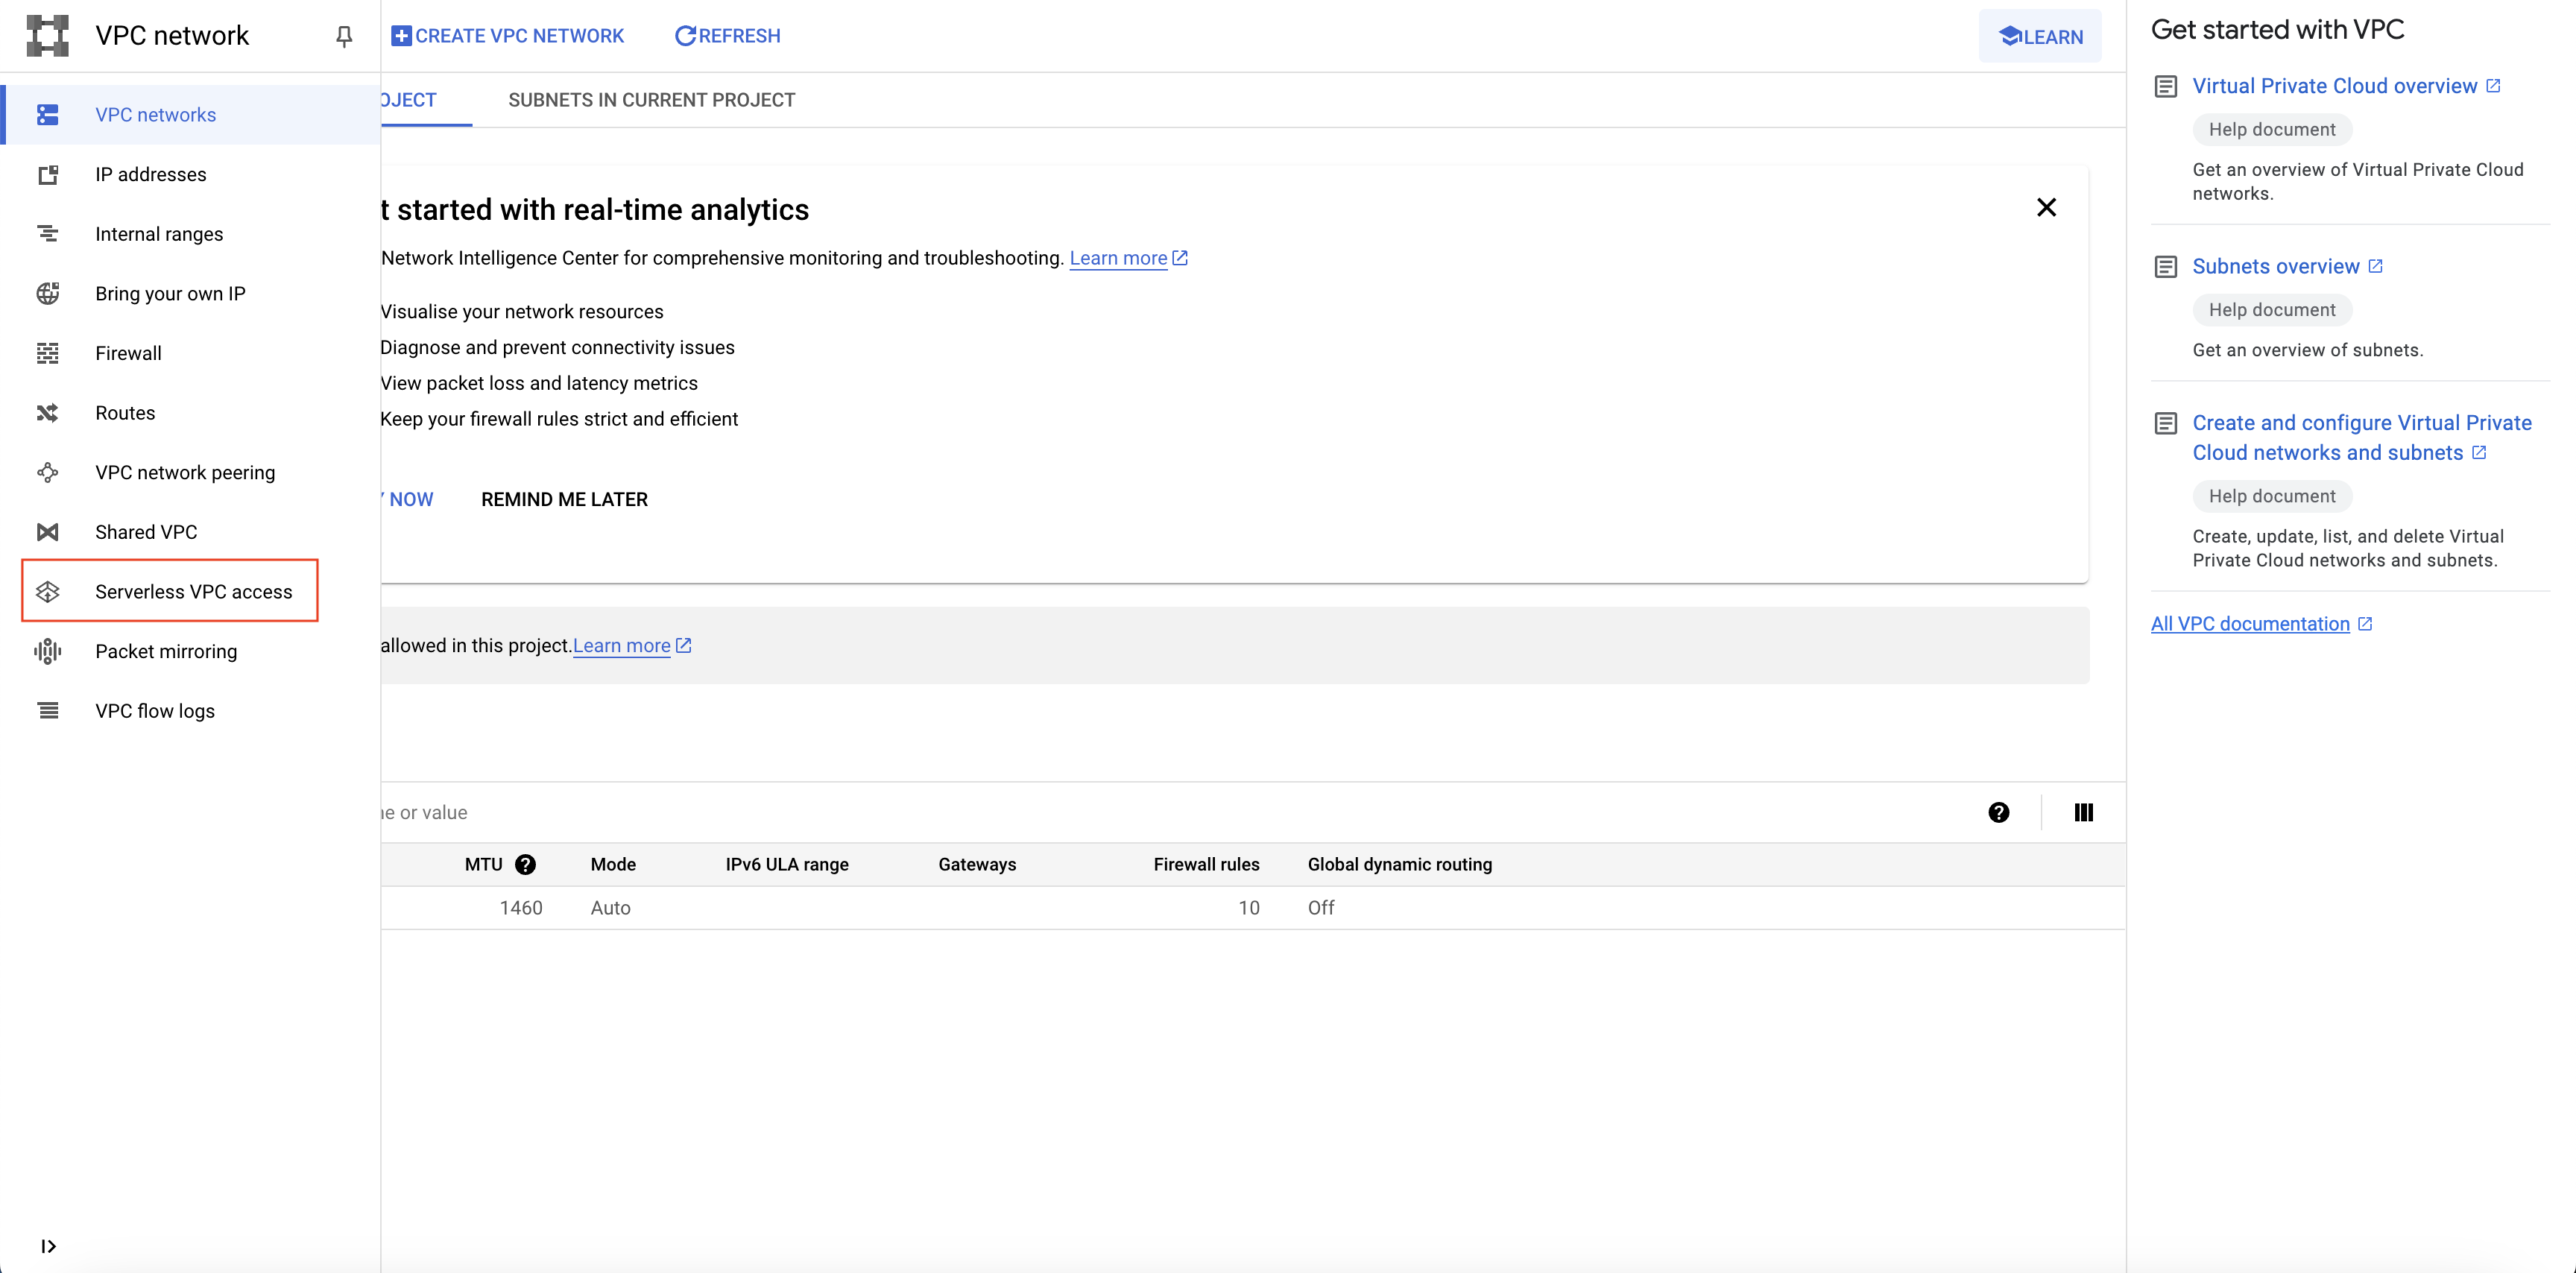
Navigate to Serverless VPC access
Step 3: Click on CREATE CONNECTOR at the top of the page.

Serverless VPC Access Connector create button
Step 4: Provide an appropriate name for the connector. Region should be same as the region of the Cloud Function.
Choose the appropriate Network. In Subnet dropdown, select Custom IP range, and put an appropriate IP range that is available.
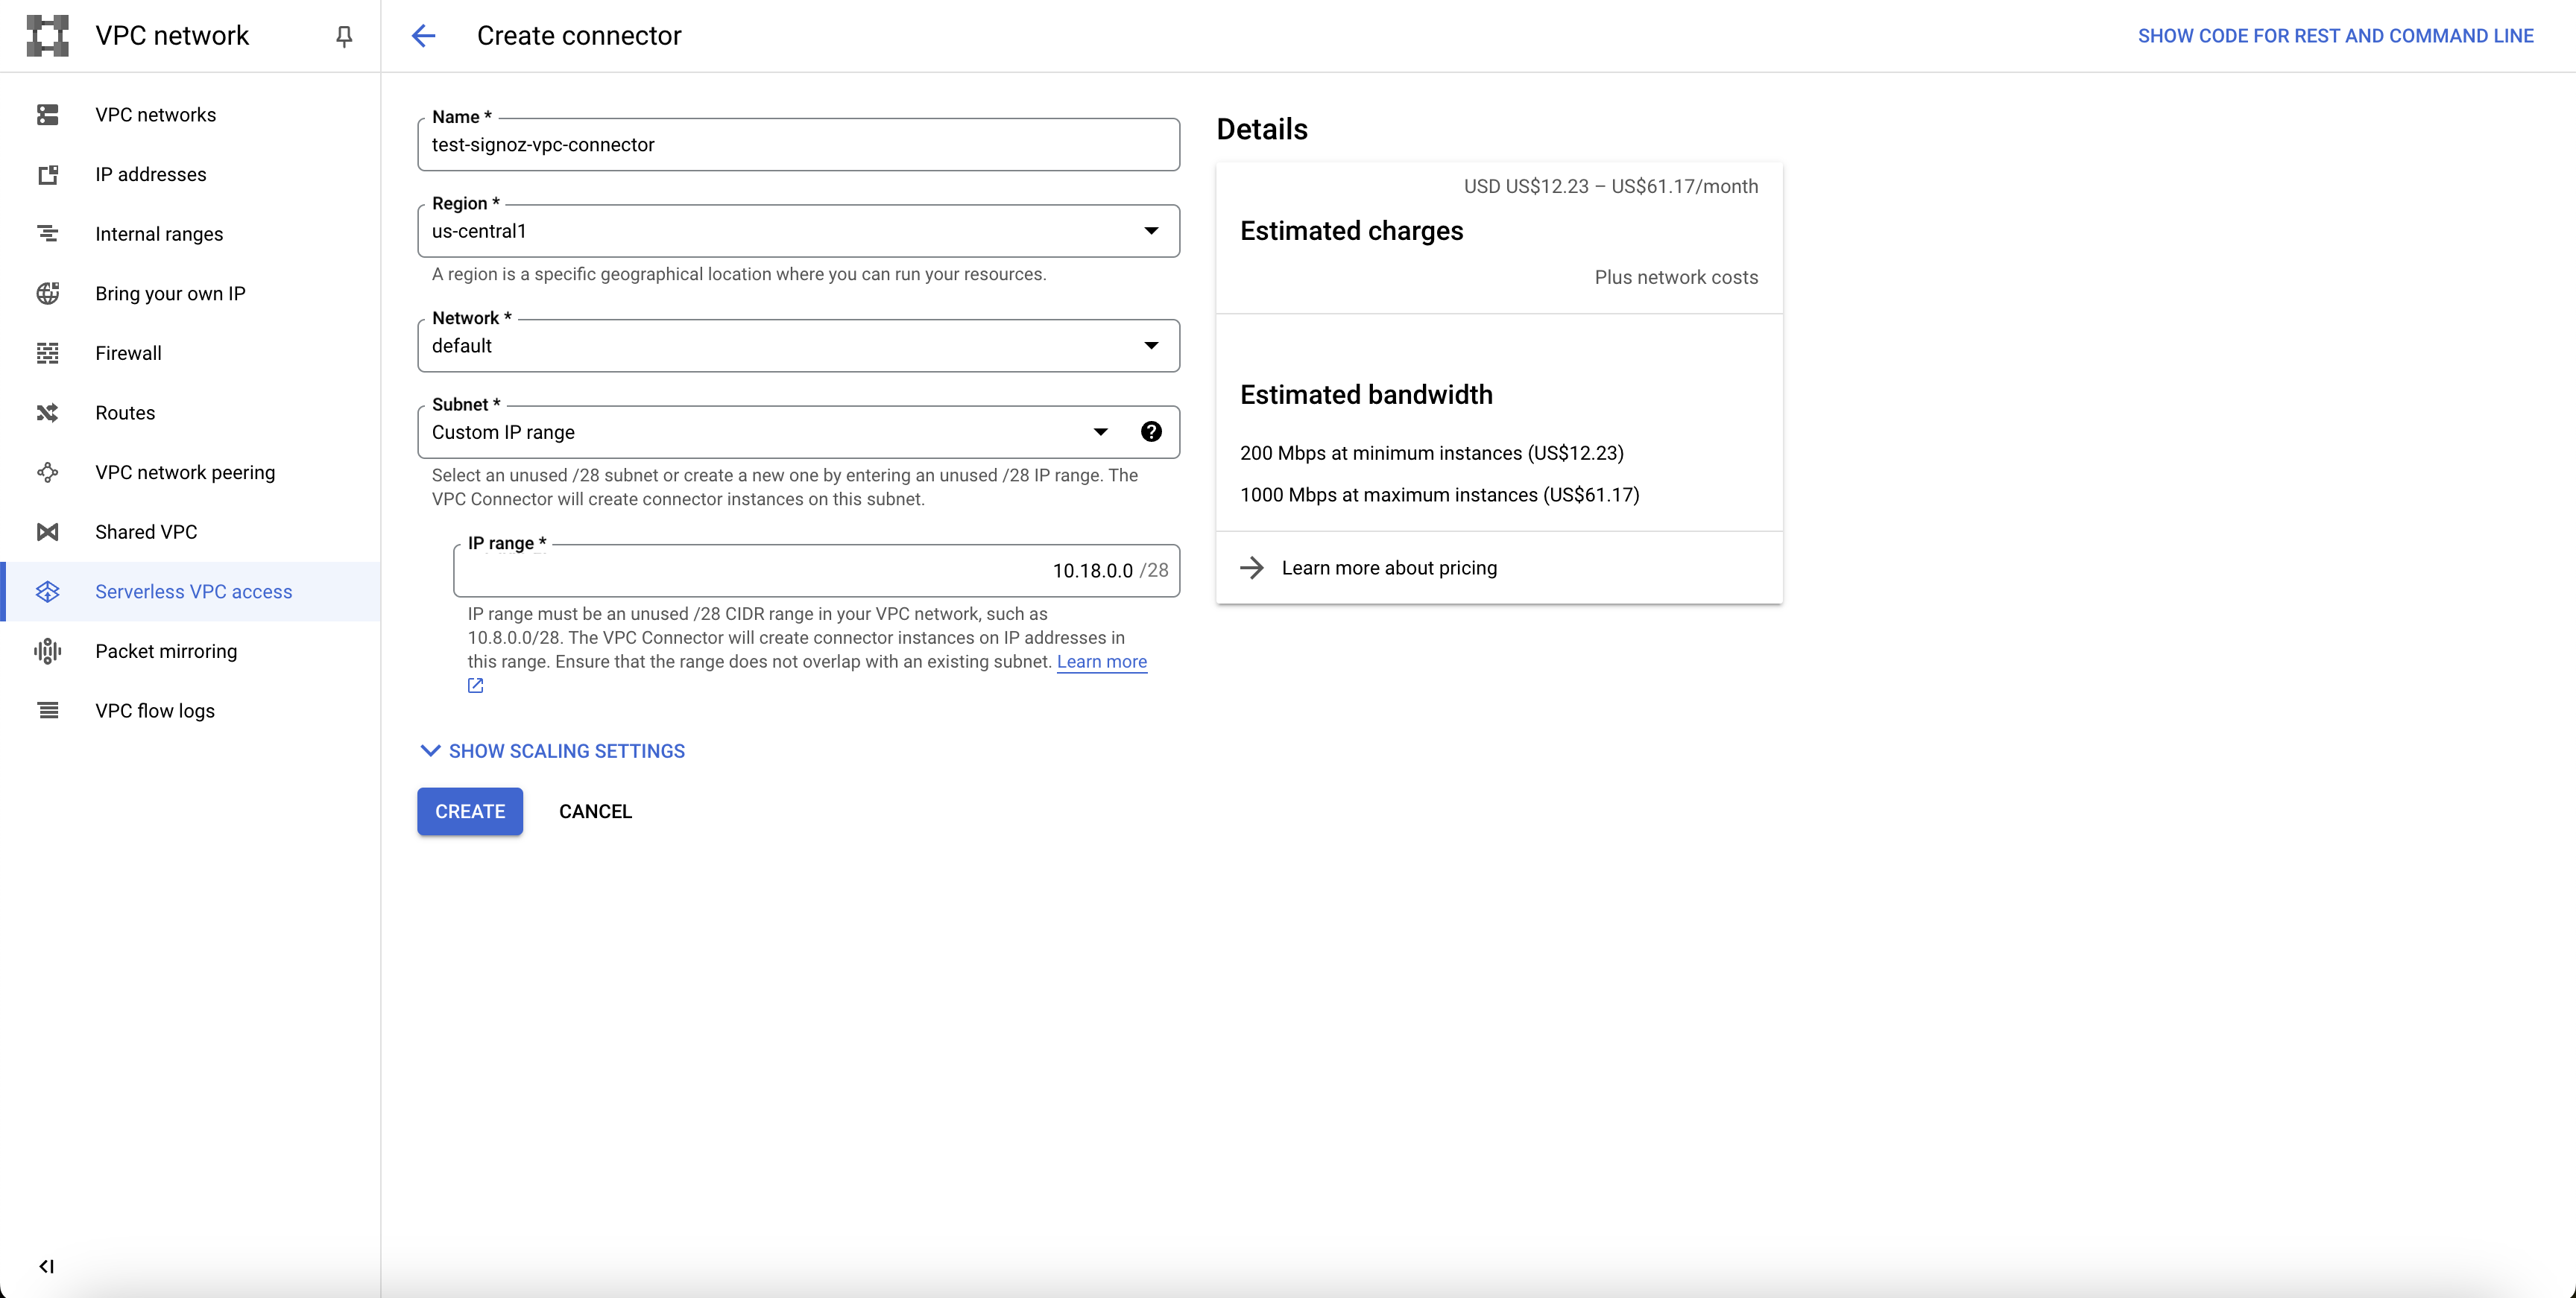
Create Serverless VPC Access Connector
Step 5: Click on CREATE button.
The Serverless VPC access connector is ready.
Let us now integrate it with Cloud Function. For this, navigate to the Cloud Functions page on GCP console.
- On the corresponding Cloud Function's page, click on EDIT at the top of the page.
- Click on Runtime, build, connections and security settings dropdown.
- Click on the CONNECTIONS tab.
- In the Egress settings, change the value in the Network dropdown to the newly created Serverless VPC Access Connector. Note that the VPC Connector will only show up in the dropdown if the connector belongs to the same regions as the Cloud Function.
- Click on NEXT and deploy the Cloud Function with this change.
You can now hit the HTTP url of the Cloud Function from the browser, and you will get the expected response from the call.
