Overview
Service accounts provide a secure way to grant programmatic API access to SigNoz without tying credentials to individual users. Use them for CI/CD pipelines, automation scripts, external integrations, and any non-human system that needs to interact with the SigNoz API.
Prerequisites
- A role with the required transactions. See the Transactions Reference for the detailed transactions required for each service account action.
Create a Service Account
Step 1: Add the Service Account
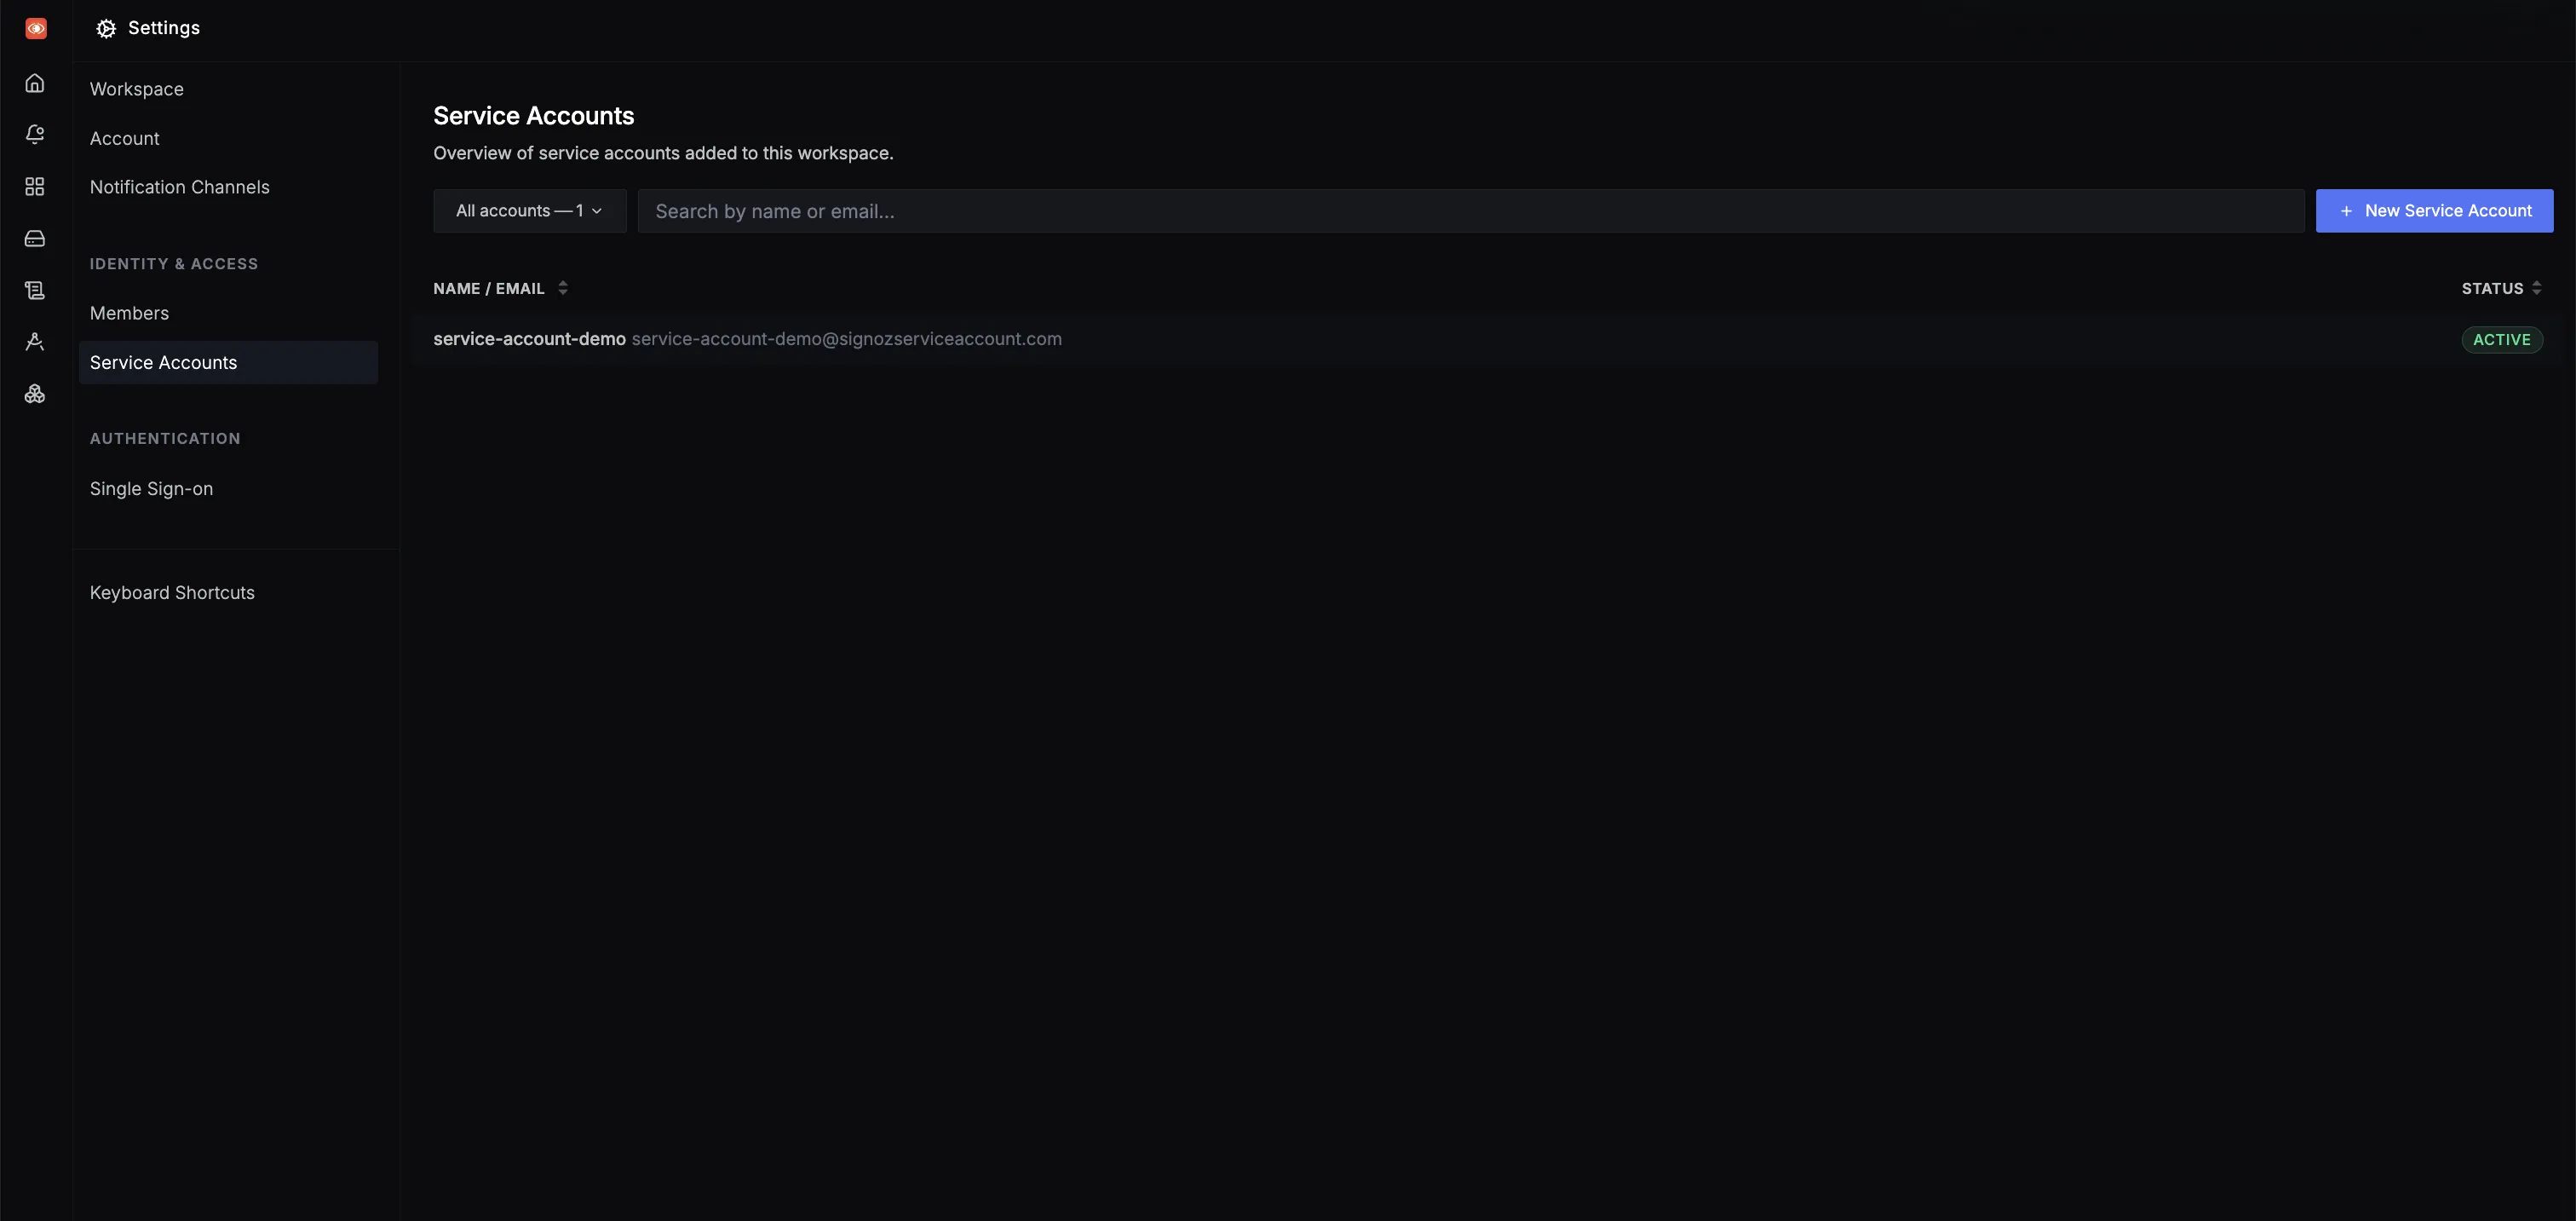
- Navigate to Settings > Service Accounts.
- Click New Service Account.
- Enter a name for the service account. Names must use only lowercase letters, numbers, and hyphens, and can be up to 50 characters long.
- Click Create to add the service account.
Step 2: Assign a Role
- Click the newly created service account to open its details.
- In the Overview tab, use the Roles dropdown to assign one or more roles. You can assign any managed or custom role available in your organization.
- Click Save to apply your changes.
The service account receives the union of all transactions from its assigned roles. For details on managed and custom roles, see Roles. For a complete list of transactions each role grants, see the Transactions Reference.
Step 3: Generate an API Key
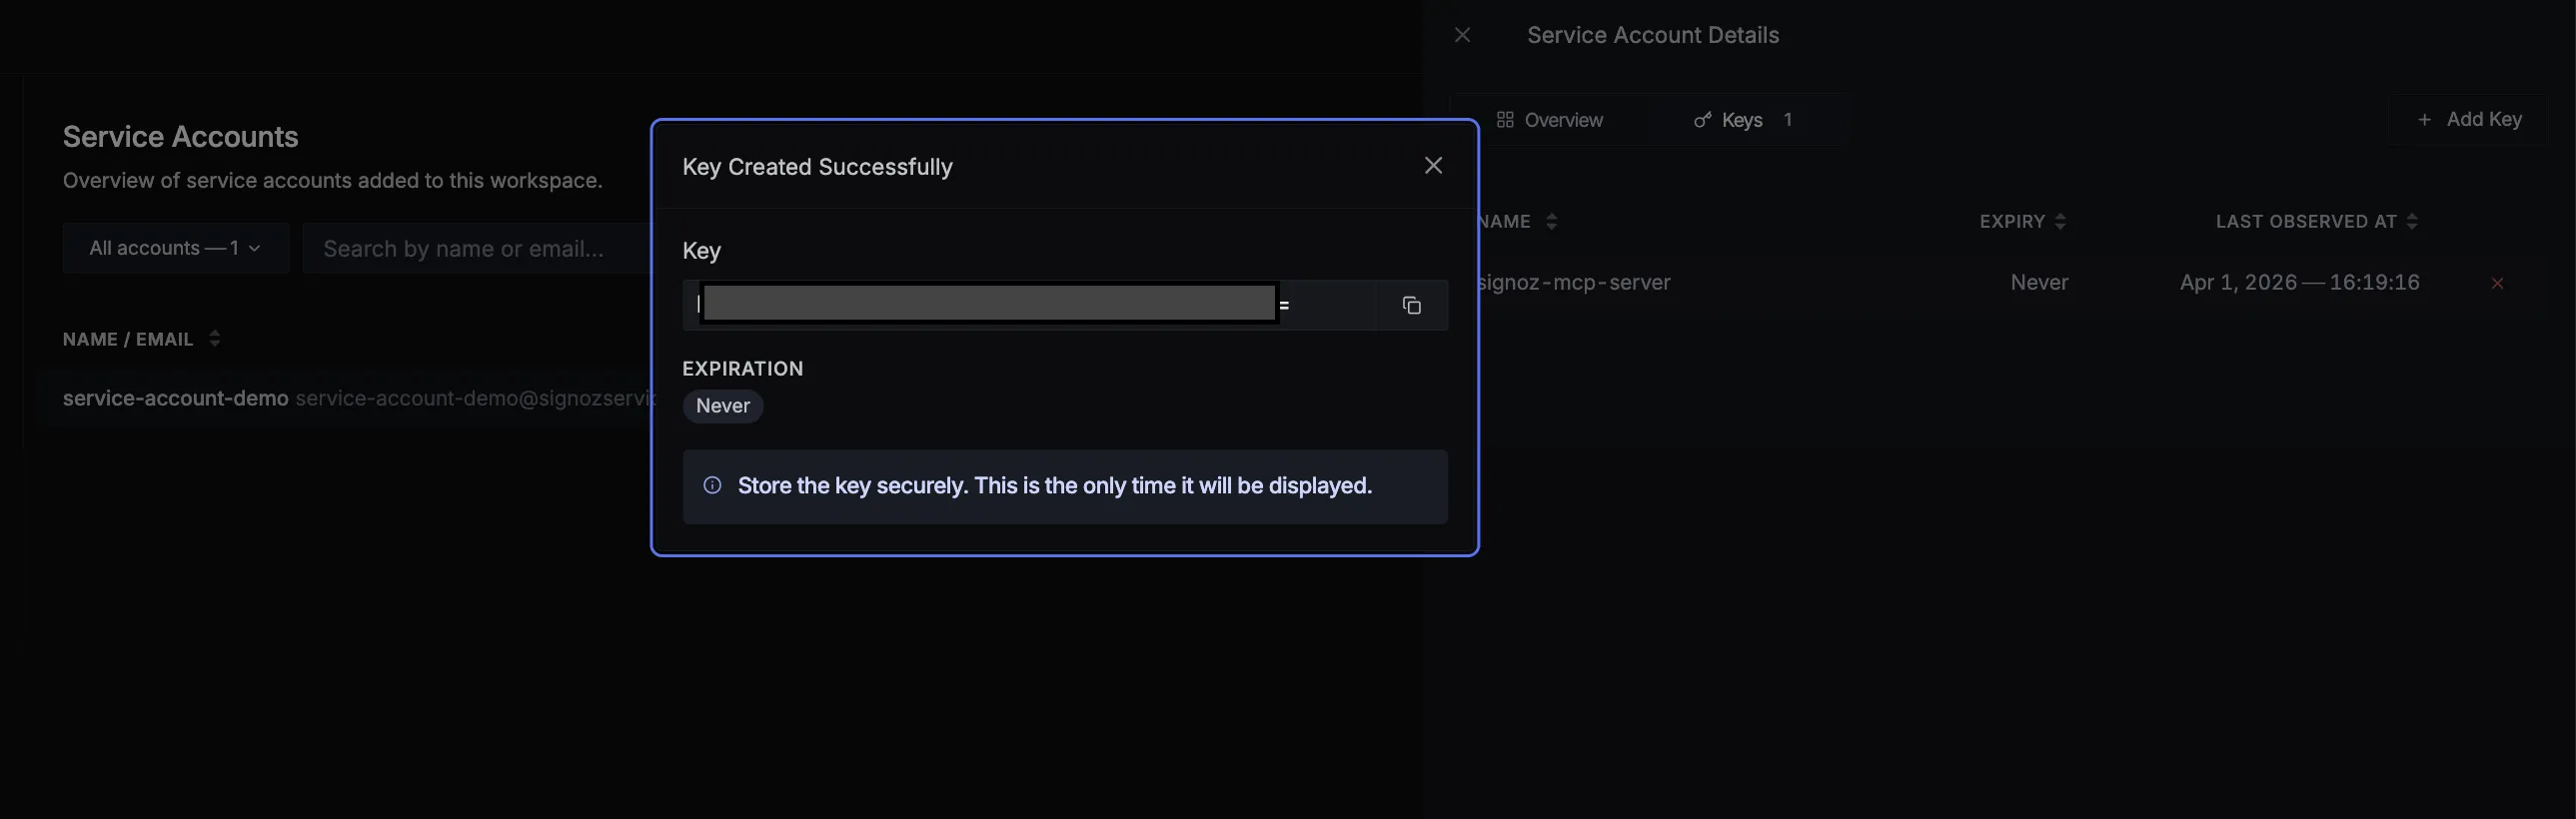
- Open the service account and switch to the Keys tab.
- Click Add Key.
- Enter a descriptive name for the key (for example,
ci-pipeline-prod). - Optionally, set an expiration date. Keys without an expiration remain valid until manually revoked.
- Click Create to generate the key.
Step 4: Authenticate API Requests
Include the key in the SIGNOZ-API-KEY header when making API requests:
curl -X GET https://<SIGNOZ_URL>/api/v1/service_accounts/me \
  -H "SIGNOZ-API-KEY: <YOUR_SERVICE_ACCOUNT_KEY>"
Replace <SIGNOZ_URL> with your SigNoz instance URL and <YOUR_SERVICE_ACCOUNT_KEY> with the key you copied in Step 3.
Validate
To confirm the service account key is working, run the following command and verify you receive a successful response:
curl -X GET https://<SIGNOZ_URL>/api/v1/service_accounts/me  \
  -H "SIGNOZ-API-KEY: <YOUR_SERVICE_ACCOUNT_KEY>"
A 200 status code indicates the key is valid and the service account has the required transactions. If you receive 401, verify the key value is correct.
Manage Existing Keys
Revoke a Key
In the Keys tab, click the revoke icon next to the key you want to invalidate.
Update Key Expiration
To change the expiration date of an existing key:
- Open the service account and navigate to the Keys tab.
- Click on the key you want to update.
- Modify the Expiration Date field. You can extend, shorten, or remove the expiration entirely.
- Click Save to apply the changes.
Delete a Service Account
- Open the service account you want to remove.
- Click Delete Service Account and confirm the action.
Next Steps
- Authorization Overview — Understand how access control works in SigNoz
- Roles — Create and manage roles
- Transactions Reference — Look up transactions for each resource
- Single Sign-On (SSO) — Configure SSO for your organization
- SigNoz MCP Server — Use service account keys to connect AI tools to SigNoz via MCP


