Setting up a basic Flask application
This article is part of the OpenTelemetry Python series:
- Previous Article: Overview - Implementing OpenTelemetry in Python applications
- You are here: Setting up a basic Flask application
- Next Article: Setting up SigNoz
Check out the complete series at: Overview - Implementing OpenTelemetry in Python applications
In this lesson, we will be setting up a basic Flask application.

Flask To-Do App with MongoDB
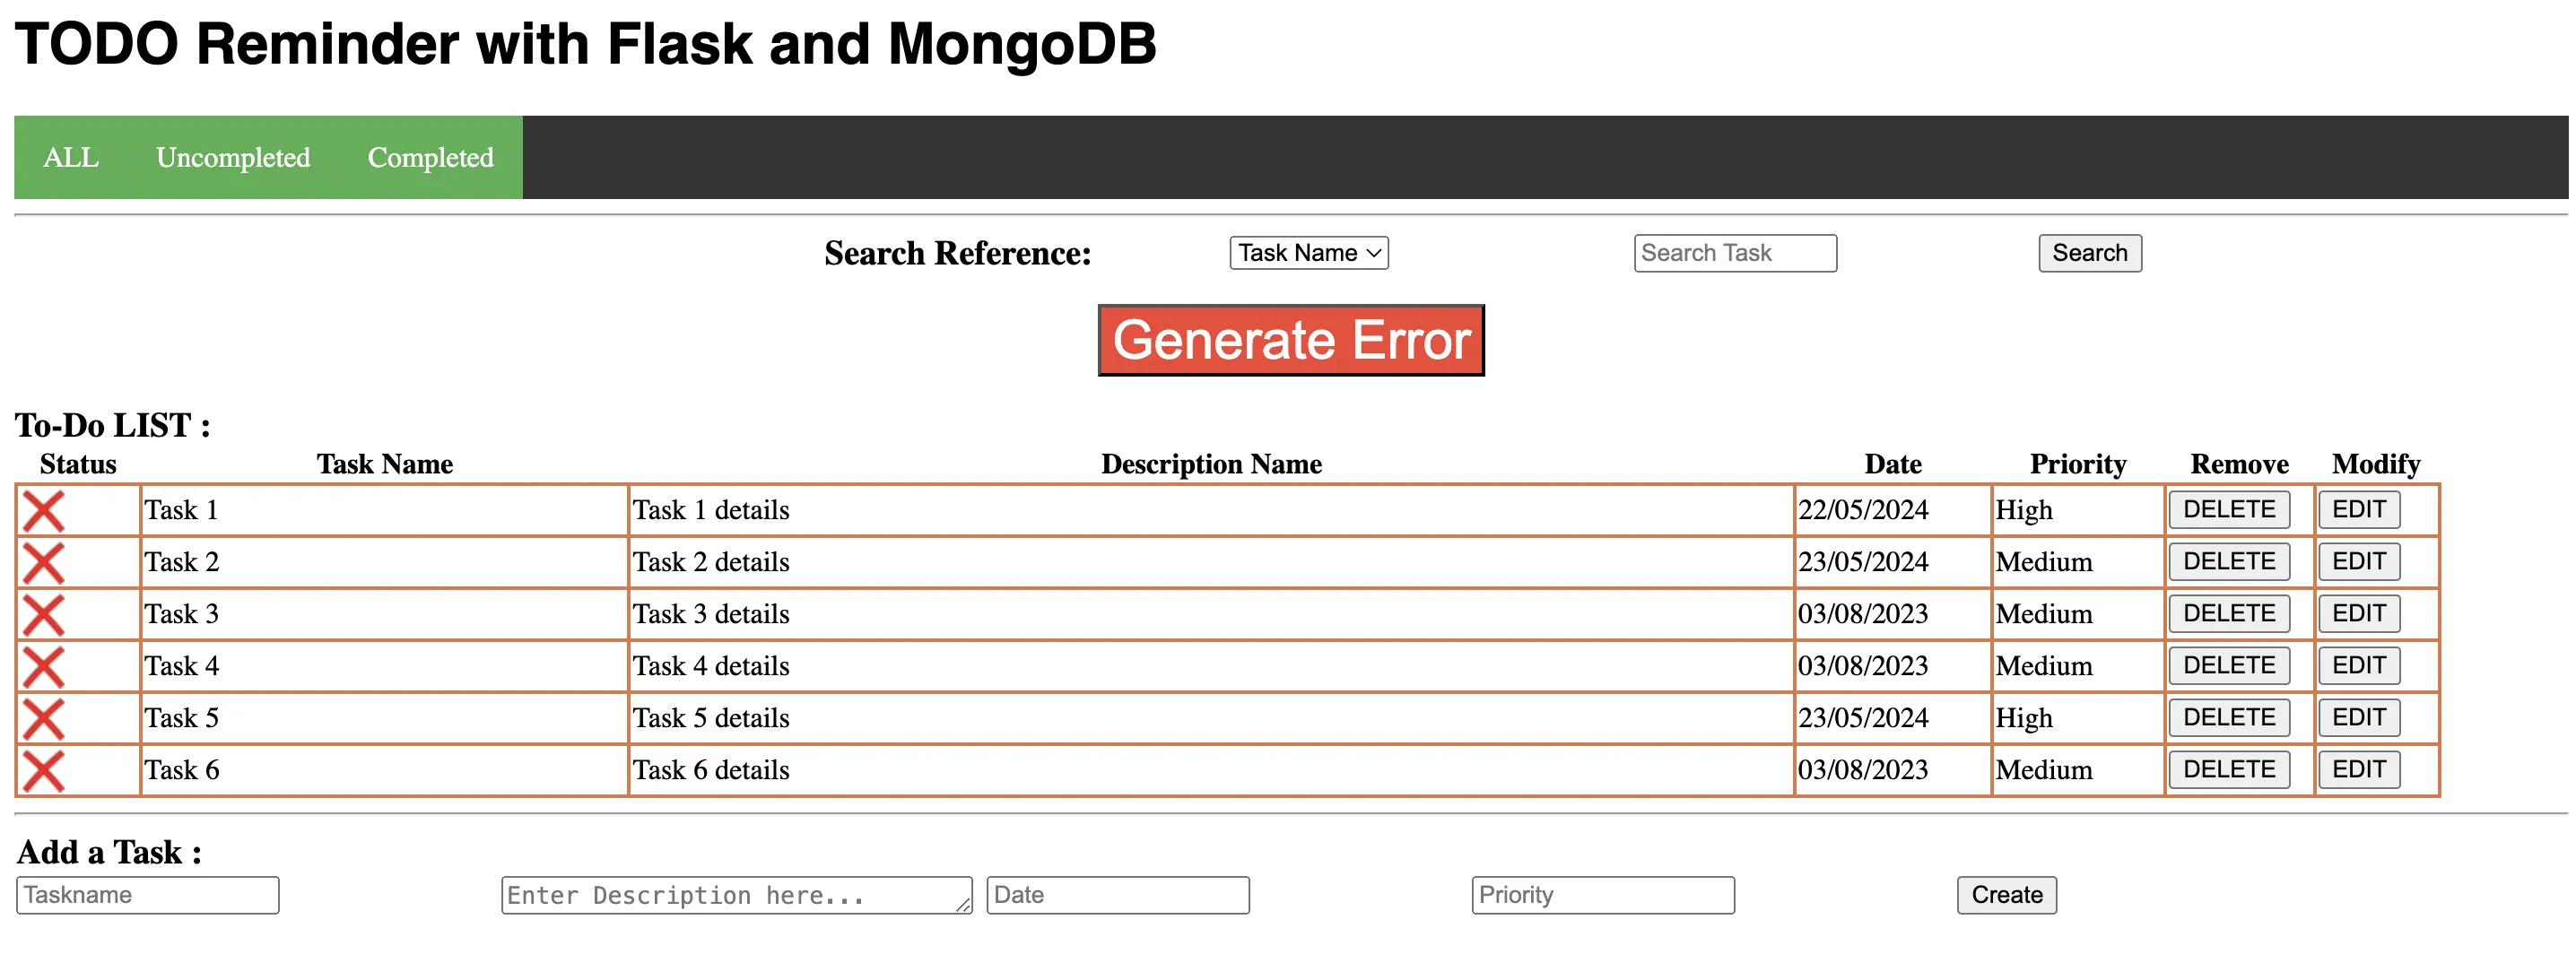
To demonstrate how to integrate OpenTelemetry in a Python application, we'll create a Flask-based to-do application with MongoDB. The application consists of a template-based frontend that handles user interactions and a backend that performs CRUD operations with MongoDB.
Prerequisites
- Python 3.9 or later.
- MongoDB is installed and running.
Code Repo
The code samples for this tutorial series are present at this GitHub repo. You can follow the series by cloning the repo and running the application from the respective lesson directories.
git clone https://github.com/SigNoz/opentelemetry-python-example.git
Step 1: Clone the Github repository
First, clone the GitHub repository to your local machine. Open a terminal and run the following commands to clone the repository and navigate to the project directory:
git clone https://github.com/SigNoz/opentelemetry-python-example.git
cd opentelemetry-python-example
Step 2: Set Up a Virtual Environment
There are several ways to work with virtual environments in Python. You can use venv, virtualenv, pyenv or conda to create and manage virtual environments. In this tutorial, we'll use venv to create a virtual environment. However, you can use any method you prefer.
Next, set up a virtual environment to manage dependencies:
python -m venv .venv
source .venv/bin/activate
Note: Depending on your Python installation, you may have to use python3 or python3.x instead of python.
Step 3: Install Dependencies
This project uses Flask for serving the web application and PyMongo to interact with MongoDB. With the virtual environment activated, install the required dependencies.
python -m pip install -r requirements.txt
Step 4: Ensure MongoDB Is Running
Make sure MongoDB is installed and running on the default port (27017). You can start it manually or use a process manager. To check if MongoDB is running, use:
pgrep mongod # If a process ID is returned, MongoDB is running
If MongoDB is running, you should see a process ID. If not, start MongoDB with the following command:
mongod
Step 5: Start the application
The application interacts with MongoDB to manage tasks. Start it with the following command:
python lesson-1/app.py
The application should be accessible at localhost:5002.
Step 7: Test the Application
Now that application is running, you can interact with the application at http://localhost:5002.
You can add, update, and delete tasks in the to-do list.

Next Steps
In this tutorial, we've created a Flask-based to-do application with MongoDB database. The application service interacts with MongoDB to manage tasks.
In the next lesson, we will set up an account on SigNoz. OpenTelemetry does not provide a storage and an analytics layer. Once the data is collected with OpenTelemetry, you can send it to a backend that supports OpenTelemetry data format. We’ve built SigNoz to be OpenTelemetry-native from the ground up - let’s set it up.
Read how to set up SigNoz on Setting up SigNoz.
Once you’re done setting up your SigNoz account, get back to the next tutorial in the series -
Auto-instrumentation of Python applications with OpenTelemetry
