API Keys are deprecated. Service accounts replace the legacy API keys. If you previously created API keys, they have been automatically migrated to service accounts. Please transition any workflows that reference API keys to use service account keys instead.
Overview
Service accounts provide a secure way to grant programmatic API access to SigNoz without tying credentials to individual users. Use them for CI/CD pipelines, automation scripts, external integrations, and any non-human system that needs to interact with the SigNoz API.
Prerequisites
- Admin role access to SigNoz
Create a Service Account
Step 1: Add the Service Account
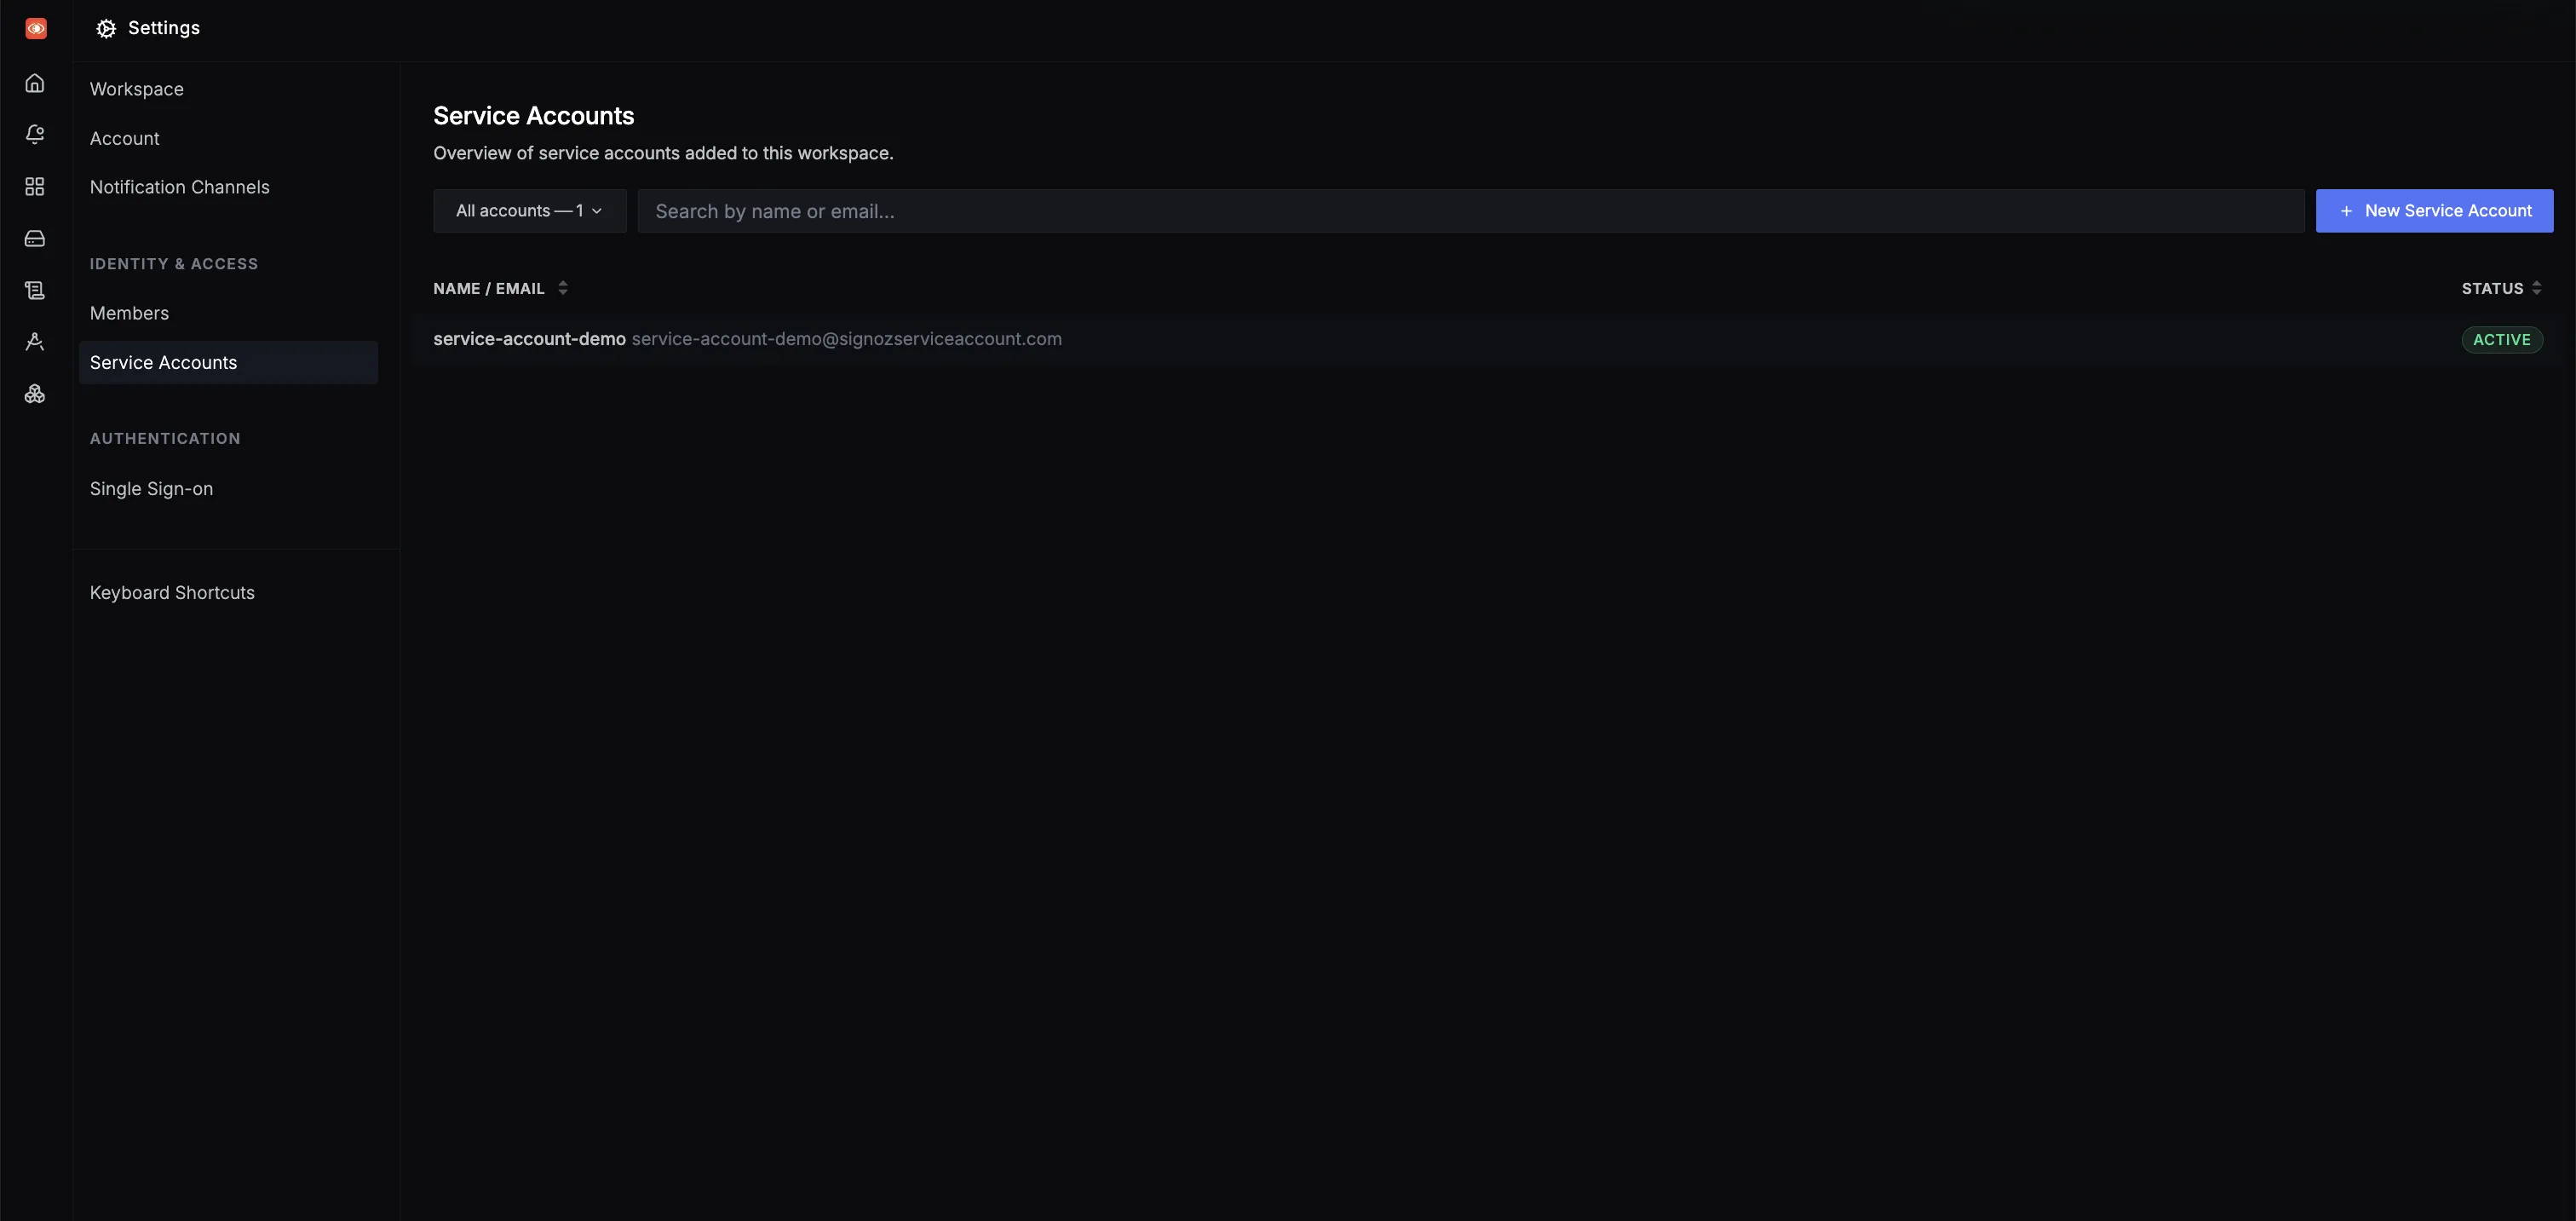
- Navigate to Settings > Service Accounts.
- Click New Service Account.
- Enter a name for the service account. Names must use only lowercase letters and hyphens, and can be up to 50 characters long.
- Click Create to add the service account.
Service account names must be unique within the workspace.
Step 2: Assign Roles
- Click the newly created service account to open its detail page.
- In the Overview tab, use the Roles dropdown to assign one or more roles.
- Click Save to apply your changes.
The available roles are:
| Role | Description |
|---|---|
| SigNoz-Admin | Full access to all SigNoz features, settings, and API endpoints. |
| SigNoz-Editor | Can create and modify dashboards, alerts, and other resources. |
| SigNoz-Viewer | Read-only access to dashboards, traces, and other observability data. |
Step 3: Generate an API Key
- Open the service account and switch to the Keys tab.
- Click Add Key.
- Enter a descriptive name for the key (for example,
ci-pipeline-prod). - Optionally, set an expiration date. Keys without an expiration remain valid until manually revoked.
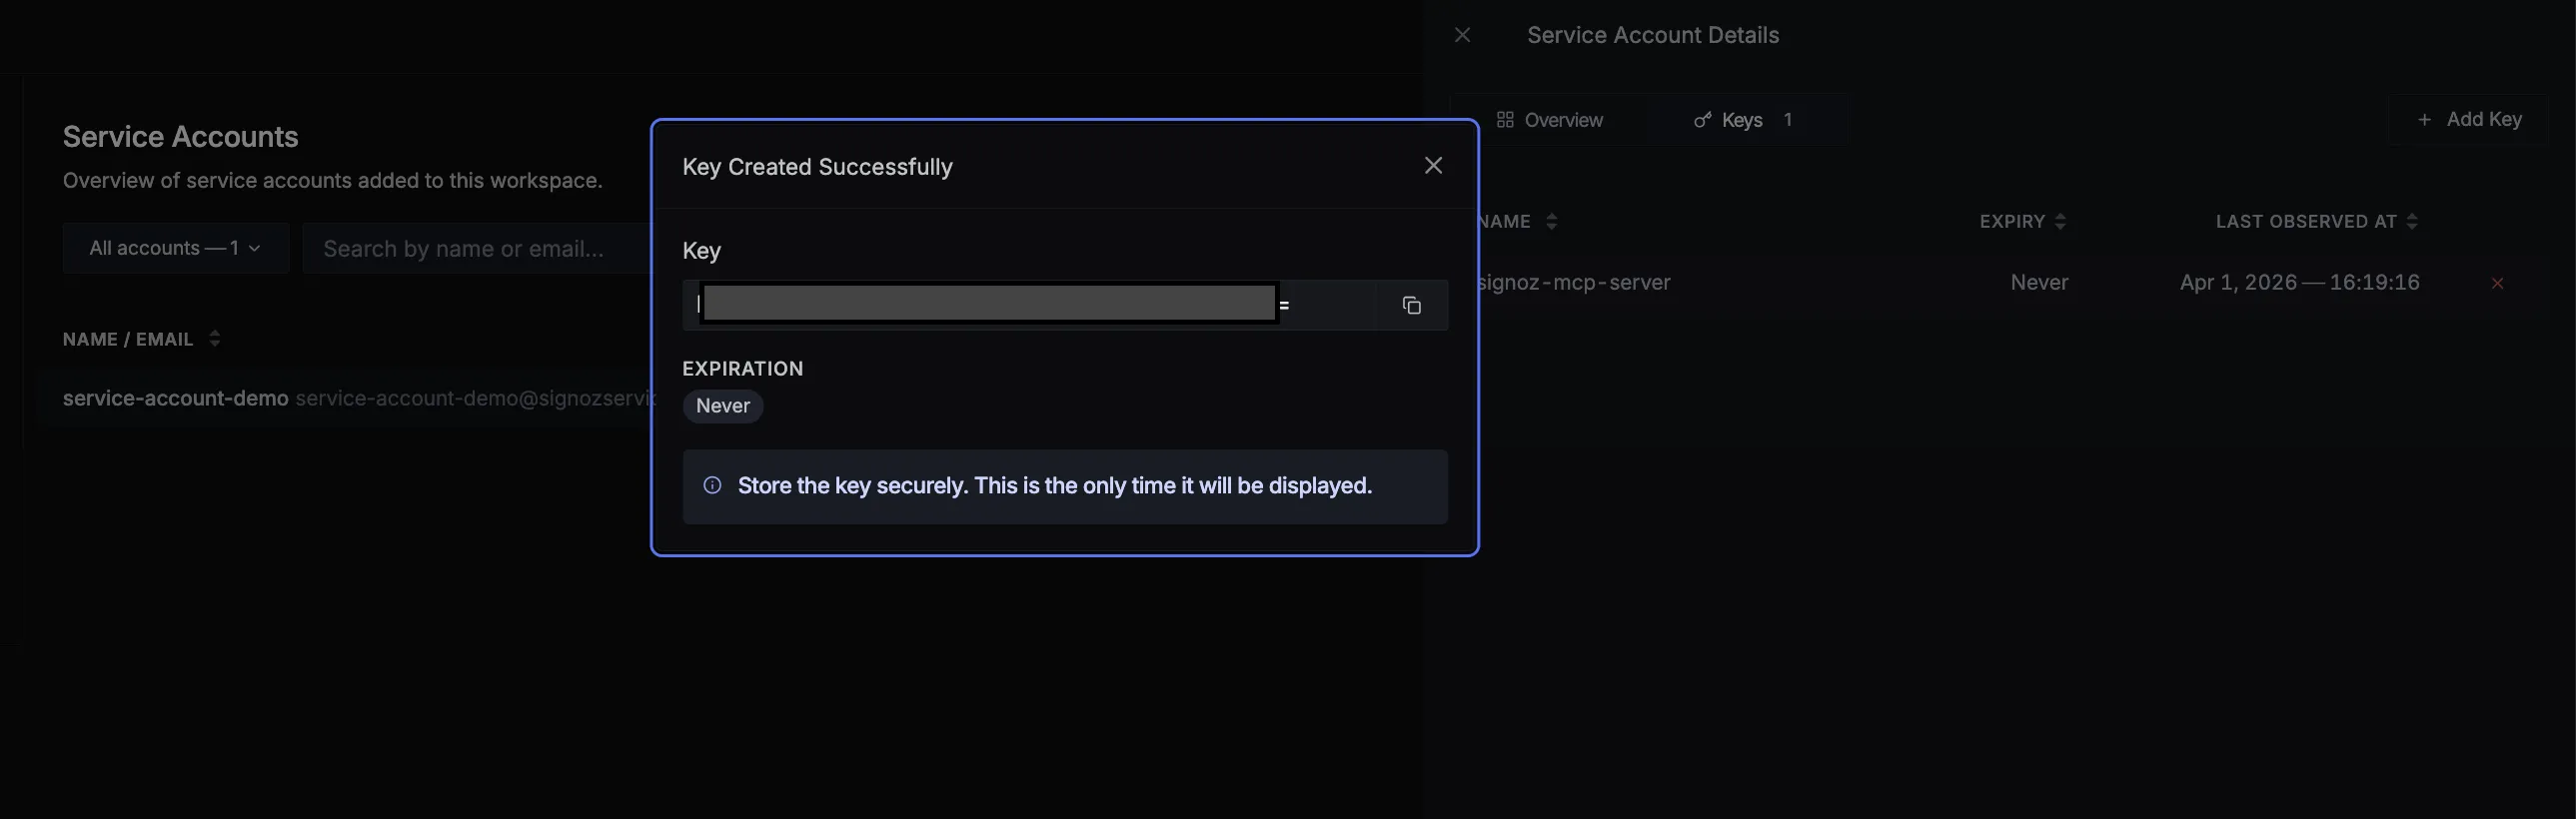
- Click Create to generate the key.
Key names must be unique within the service account.
The key value is shown only once at creation time. Copy it immediately and store it in a secure location such as a secrets manager. You will not be able to retrieve it again.
Step 4: Authenticate API Requests
Include the key in the SIGNOZ-API-KEY header when making API requests:
curl -X GET https://<SIGNOZ_URL>/api/v1/service_accounts/me \
  -H "SIGNOZ-API-KEY: <YOUR_SERVICE_ACCOUNT_KEY>"
Replace <SIGNOZ_URL> with your SigNoz instance URL and <YOUR_SERVICE_ACCOUNT_KEY> with the key you copied in Step 3.
Validate
To confirm the service account key is working, run the following command and verify you receive a successful response:
curl -X GET https://<SIGNOZ_URL>/api/v1/service_accounts/me  \
  -H "SIGNOZ-API-KEY: <YOUR_SERVICE_ACCOUNT_KEY>"
A 200 status code indicates the key is valid and the service account has the required permissions. If you receive 401, verify the key value is correct.
Manage Existing Keys
Revoke a Key
In the Keys tab, click the revoke icon next to the key you want to invalidate.
Revoking a key is permanent and takes effect immediately. Any system using the revoked key will lose API access.
Update Key Expiration
To change the expiration date of an existing key:
- Open the service account and navigate to the Keys tab.
- Click on the key you want to update.
- Modify the Expiration Date field. You can extend, shorten, or remove the expiration entirely.
- Click Save to apply the changes.
Updating the expiration date does not regenerate the key value. Existing integrations using the key will continue to work without any changes.
Delete a Service Account
- Open the service account you want to remove.
- Click Delete Service Account and confirm the action.
Deleting a service account permanently revokes all of its associated keys. This action cannot be undone. Ensure no active systems depend on the account's keys before proceeding.
Next Steps
- Single Sign-On (SSO) — Configure SSO for your organization
- SigNoz MCP Server — Use service account keys to connect AI tools to SigNoz via MCP
